Saturday, February 16, 2013

Dinorawr!


How many dinosaurs do you see on this cake? You might have to look close to see all three in their natural habitat of fondant grass, leaves and polka dots!


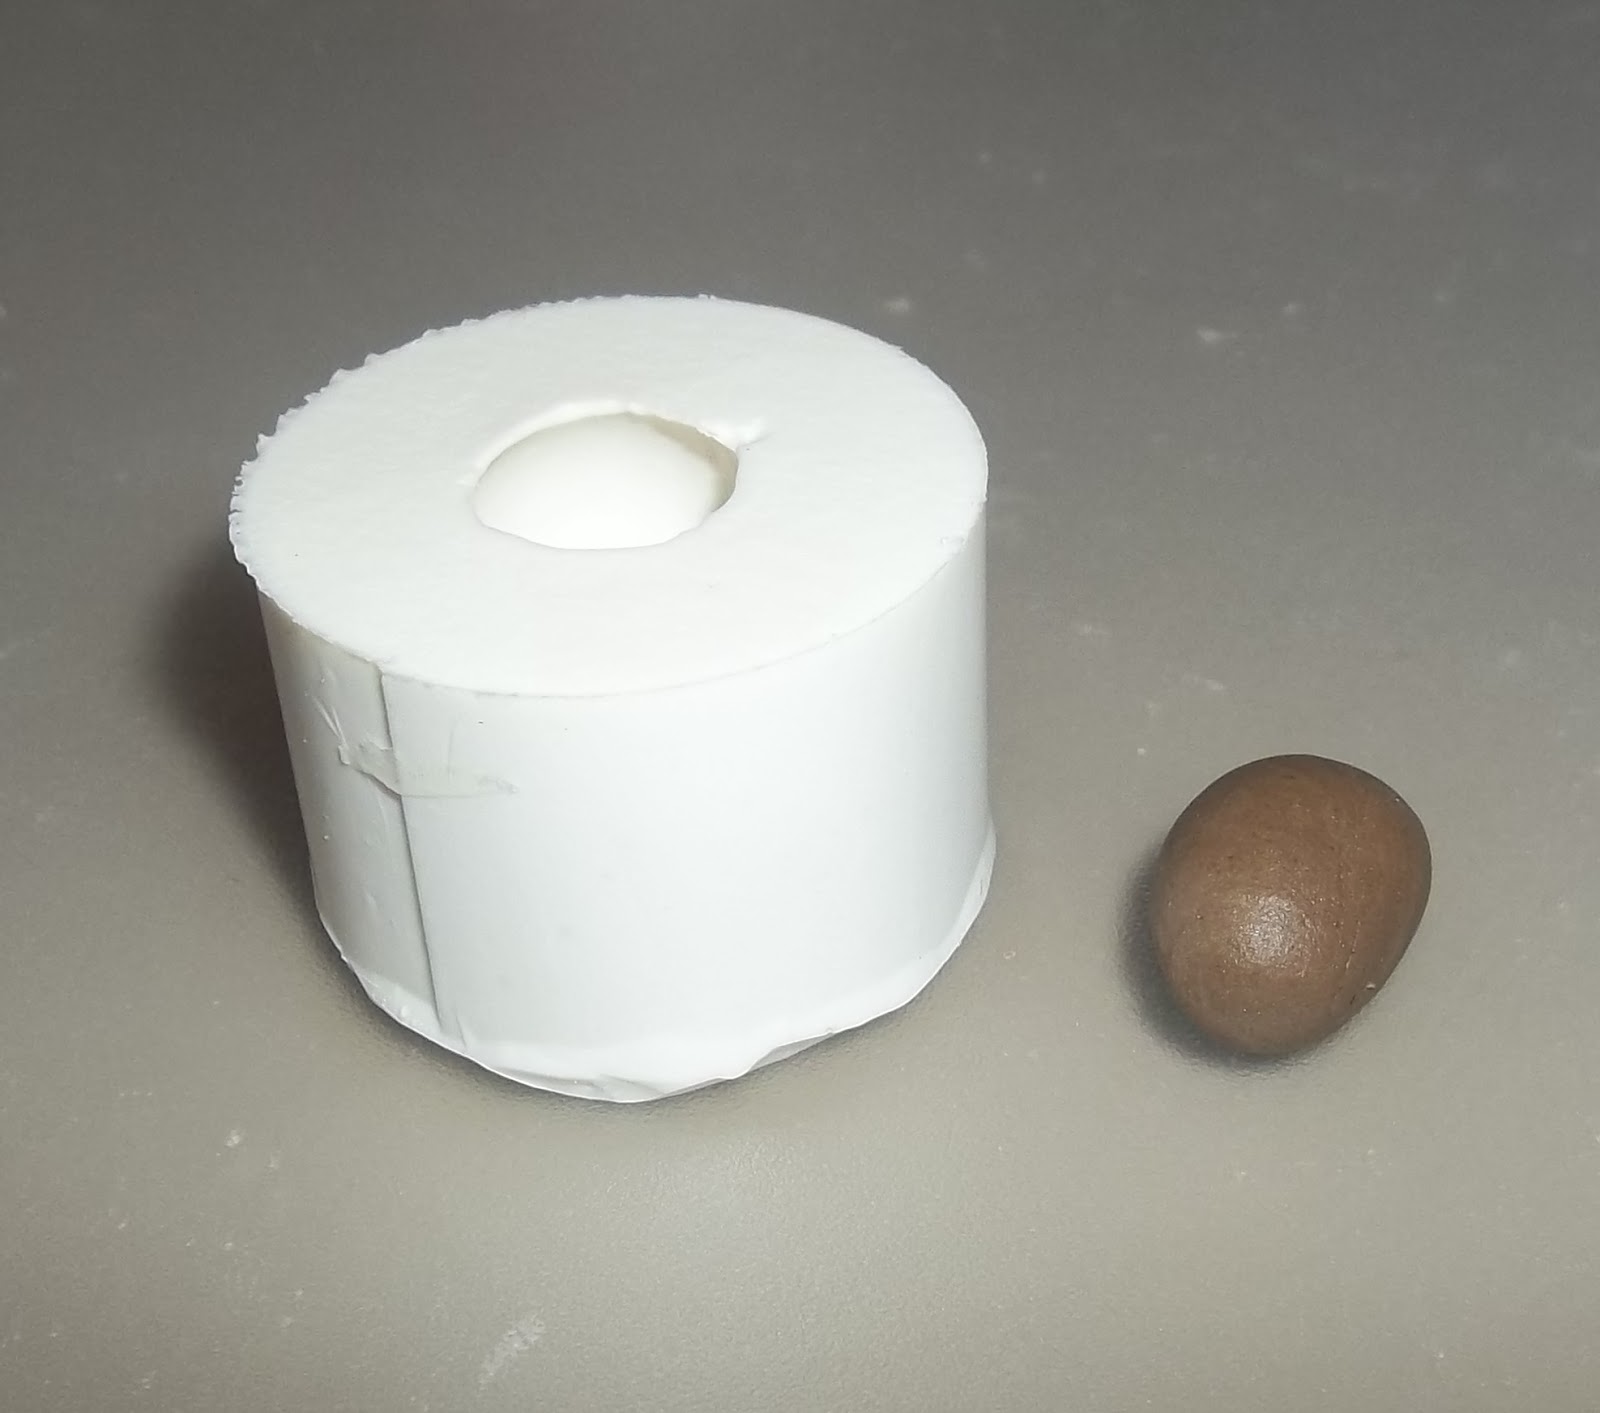
I used fondant with tylose powder for the these dinos. I filled the molds to the top and cleaned the edges of the mold by removing any excess.  Place the mold in the freezer for about five minutes and they  will pop out very easily. I brushed with  pearl dust to bring out the detail on the tiny ones.

The cookies were a nice size for the favor boxes which I picked up at Michael's. Cookie tiles seem to be a popular trend. These little dinos are the perfect size for them. This is about a 1 inch square cutter.
The cookies are decorated with royal icing. Party City carries sixlets in EVERY color.


Volcano cake pops were actually easier to dip than round ones. I worried they would fall off the stick but I did not have any trouble with that. I dipped the stick in chocolate and pushed it halfway into the pop and covered completely. The advantage of plastic sticks is that they can be wiped off if  any chocolate should drip onto them.


I put a small handful of orange melting chocolate wafers into a disposable pastry bag with a pinch of paramount crystals and melted on half power until melted. Be sure to take the bag out and squeeze the bag to distribute the heat evenly during melting.  Cut a small hole off the the tip of the bag and pipe some orange lava on the pop.

Repeat with yellow chocolate.

Use the pastry bag of melted chocolate to attach the molded dinos!

Did you know you can  use the deeper molds for making cookies?
Fill the mold and freeze for about 3 minutes and place on a parchment lined cookie tray.

Bake at 325 for 10 - 12 minutes. Watch carefully, remove when the cookie looks dry and just before it begins to brown. I used a Wilton Roll-Out Cookie Recipe from an old year book. It is not necessary to add the 2 teaspoons of baking powder because you do not want it to rise so I omitted it.


Roll-Out Cookies
1 cup butter
1 cup sugar
1 large egg
1 teaspoon vanilla
3 cups flour

Preheat oven to 325 degrees. In a large bowl, cream butter and sugar with a hand held mixer. Beat in egg and vanilla. Mix in flour one cup at a time, mixing after each addition. Divide dough into small bowls and add several drops of gel food coloring to each bowl. Knead in the coloring with your hands until evenly distributed.  No need to chill dough before using, but if you are working with several colors, you may want to refrigerate the dough you are not using.


Vendor Credits:  Party Styling and Desserts by Jeannie GearinThepastrytip.com


Products Used:


Tuesday, February 12, 2013

Let the Good Times Roll!


Here is a quick and simple cake to add to your Mardi Gras festivities this week.

First we covered the cake in a green fondant.  Then using our new wavy texture to add the purple details.  I like to roll out the fondant on top of the texture mat.  This helps me to make sure that I'm rolling the fondant even.


Look Mom!  No hands.  I had to operate the camera!  
Next I turned the mat over and slowly pulled it off the fondant.  

Using a small square cutter I cut squares and arranged on the sides of the cake.  Easy!

Dust some sugar pearls with gold luster dust and place at the corners.  I also painted the board with the same gold.

Then I used green, purple and gold bling ribbon and some double sided sticky tape to add some bling to the board.

I will get the details on the mask in another blog.

Products Used:

Thursday, February 7, 2013

Conversation Hearts


Just in time for Valentine's Day you can make some lovely hearts for your sweetie!

I'm going to show the steps for the two toned hearts.  I take two similar size blobs of  sugarpaste (I used fondant - you can do candy clay, gumpaste, etc).


Then I twist them together.  Looks like a colorful slug to me.


And roll into a smooth ball.


Place the smooth ball in the cavity.  Yeah, this one changed back to all pink for the photo - very odd.


Then I use my rolling pin to smooth out and push the sugarpaste into the cavity.


Once finished I pop them in the freezer for just a couple minutes so I don't squish them when I pop them out.


And all finished!

Product Used:
Valentine - Conversaion Hearts

Tuesday, January 15, 2013

Acorns fall hunting theme

Thank you Sandy for a wonderful blog post!

I had a groom's cake for December that was to follow a hunting theme.  The mother of the groom found a cake on the internet and it served as the inspiration of the groom's cake that I created for them.  I cannot give credit to the original creator because I was sent the picture not the link on the web.  Here is my interpretation of a hunters groom's cake.

They wanted a cake with camo, tree trunk, initials, arrow, deer antlers, gun shot shells, and bullets on the cake. It only seemed natural to use gumpaste fall leaves and some acorns to help to give this cake a "fallish" feel to the cake.  The cake was placed on a camo puff base and a leather tooled look for a table cloth.

Decorate The Cake just came out with an acorn mold which was perfect for that extra finishing touch to this cake.

Supplies needed:
three piece acorn mold from DTC
medium brown fondant
dark brown fondant
brushes
gumglue
flower glaze (confectioner's glaze), optional
cornstarch, optional
freezer (too big for the picture)
Supplies needed
The three piece DTC acorn molds comes with two molds that are for acorn bases and the largest mold is for two different sizes of acorns caps.  (Forgive me, I don't know the scientific terms for the two parts of the acorn.)

Using the medium brown fondant, mold an acorn cap for the size acorn you are making.  The cap needs to be even with the top of the mold but slightly concave.  You do not want it even.
Molding the Cap

I made one acorn base to begin with and popped it out and used it to approximate the amount of fondant I needed for each acorn base. Roll brown fondant into small log.
Fondant log
Place the fondant log in the mold and I used the end of a paint brush to push the fondant down into the mold. I wanted to be sure that I had the fondant completely shaped to the ball shaped base.


Pushing the fondant into all parts of the mold
Do not fill the base even with the top.  I'd say about 1/16" from the top edge or the two pieces will not fit together properly.

Filling the base

Because the fondant will be misshapened if you pop it out of the mold fresh (at room temperature), I stick the mold in the freezer for about 10  minutes.  Then one can pop the acorn base out with no problem.


Popping out frozen base

Cap and base completed

I used gumglue attach the base to the cap.
Gluing base
Here's a picture of the acorn together.  The cap has a little bit of a gap between it and the base.  Acorns often lose their  caps so I didn't  want the "fully" attached look.

Finished acorn
THE FOLLOWING IS OPTIONAL:
My acorn looked a little dull to me, so I painted the base with flower glaze (confectionery glaze). Here's a picture of what your bottle will look like if you haven't opened it for a couple of years.  Hubby had to take it to the tool shed to get it open.  Notice the tool marks on it.  I have to admit when he left with the bottle, I was wondering what I would put the glaze it if he busted the neck of the bottle.  (Note to self: open bottle every week or so to keep bottle from gluing shut.)

Tool marks on confectionery glaze bottle
An acorn cap has a dull dusty look to a real one, so I dusted the cap with cornstarch to dull it and give it that dusty look.  Sorry no pictures of painting the glaze on the base or dusting the cap with cornstarch. I was in a hurry to finish up and get the groom's cake delivered.  Guess I messed up on my time management on this cake.

Here is a close of of some of the acorns I placed around the base of the cake with the gumpaste leaves. More were placed on the top edge of the bottom tier.

Product Used:
Acorns Small


Sandy Swart aka sewsweet2
Check out my cakes at:  http://www.flickr.com/photos/sewsweet2
or my cake photos on FaceBook:  Sandy Swart Cakes
To see how I make my puff bases check out the tutorial at:
flickr.com/photos/sewsweet2/sets  

Wednesday, October 24, 2012

Day of the Dead Celebration

 A  national holiday in Mexico, this celebration is also celebrated in many
parts of the world. It is a time to remember those who have passed.
Day of the Dead cookies decorated with sugar skulls and flowers.


This skull mold has stone eyes which can be filled in with a contrasting color, add slightly less paste than needed to allow for spreading when the top color is added. Place the mold in the freezer for five minutes to get the details to show clearly and for ease in releasing the mold.

Be sure to clean up the edges of the eye area with your finger to get a nice sharp line.


 Piping gel or buttercream icing can be used to adhere the fondant to the cookie.


The backdrop is decorated with a simple garland.


Chocolate cupcakes were flavored with cinnamon and cayenne pepper.


The rose mold and simple flowers decorate the mini cupcakes.


Chocolate Skull Pops


A wood grain mat was used on the fondant before attaching to the cookie.

Vendor Credits:  Party Styling and Desserts by Jeannie Gearin Thepastytip.blogspot.com

Tuesday, October 9, 2012

Halloween Dessert Table

Jeannie Gearin does it again with another amazing blog post.  This time it is a great idea for Halloween!


 A Halloween Dessert Table with a vintage feel, the dark colors and harlequin patterns
repeated throughout to give a sophisticated look. The cake is fondant with a hand
sculpted face. The crow is painted with gel colors.

Halloween Fangs

 The cupcakes have fondant fangs. They can also be  made in isomalt with red for the incisors, giving a bloody look!


Lady Skeleton and Pirate Skull

 When filling the mold, it is easier to fill with too little and then add more
as needed rather than using too much. With a small amount of paste you can see
where the details are and be sure to fill those areas carefully.
I like keeping my paste under a glass when I am going to use it a lot. It is easier
than rewrapping it in plastic wrap over and over.


 I find safety scissors are one of the best ways to cleanly
remove excess paste if you do end up with some. Push it to
the center, making sure the edges are clean and crisp.


 When adding a second color, I just add it right on top without
any water or other type of glue. The paste is fresh and it adheres
on its own. I place on the freezer for about 5 minutes to get
the most out of the details.


 When you overfill areas you will get this type of look which to a decorator is not
great but to anyone else is still impressive. I hope you can see the detail of the teeth
on that skeleton.


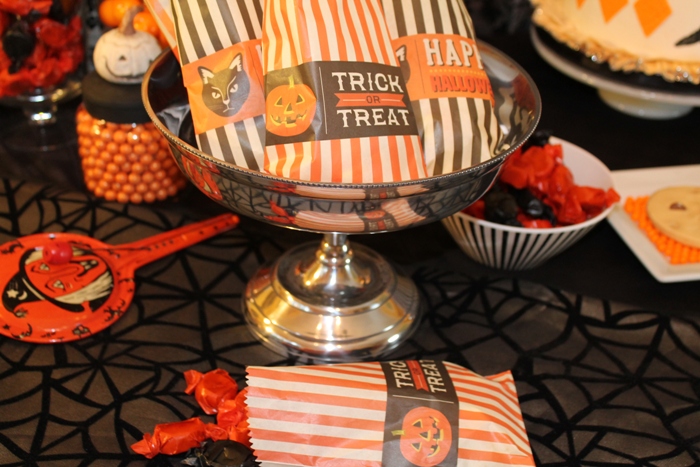
 The plates and candy bowls are from Target. The favor bags and candy tubes are at Michael's.
The Halloween Banner is from ButtonsandBells on Etsy.


Dessert Table by Jeannie Gearin


DTC Products Used:

For more amazing work from Jeannie, check out her blog, The Pastry Tip!