
Silver and Gold plateaus are beautiful and work great for that finishing touch for wedding cake presentations.
Many of us do not have the funds or the storage space to purchase and store beautiful metal bases for our brides.
Here is one way to make a bling base to show off a wedding cake. These are just general guidelines since you can make your base any size you want to.
Materials needed:

* Cake dummy with straight sides- can be purchased or I make my dummies out of 2" polystyrene house insulation that can be purchased in 4'x8' sheets at home improvement store. I cut rounds, squares, ovals, or whatever shape need with a jigsaw and cover with contact paper.
* Scissors
* Ruler or measuring tape
* Regular straight pins used for sewing
* Clear corsage pins (because they are fairly inconspicuous when pinning bling ribbon
* Bling ribbon available from Decorate the Cake

1. Cover the top of the dummy with foil. I rough cut the foil to cover the top by cutting the circle a little larger than the dummy layer so I can fold it over the edges and attach it every 3"-5" to hold it in place. I want a temporary cover so I can use the same dummy and change the foil/bling ribbon cover and also easy to replace if top foil gets damaged at the reception when the cake is served. You could tape it , but I used plain straight pins (what can I say-- I'm also a seamstress!)

2. Cover the sides of the dummy. I measured then cut a strip of foil a couple of inches wider than the depth of the dummy. Then I folded each edge under 1" to make finished look to the edging. I secured this to the dummy with straight pins with the strips overlapping. . In this picture you can see I did part with florist foil and part with regular aluminum foil to see if there was any difference in the look with the bling ribbon over it.

3. Measure circumference of dummy and cut bling ribbon that length plus 1". Measure the height of the dummy and cut the bling to that width. My dummy was 4" deep so I cut my bling so that it was 4" wide. Place the bling ribbon around the dummy and over lap the ribbon in the back and secure with at least 3 crystal headed corsage pins in the back for a 4" ribbon. Since it is a foam dummy it is easy to pin the ribbon in place. It is secure and not that noticeable.

4a. After it was covered with the bling ribbon, I couldn't tell any noticeable difference between the foil and the aluminum foil behind the ribbon on the sides.

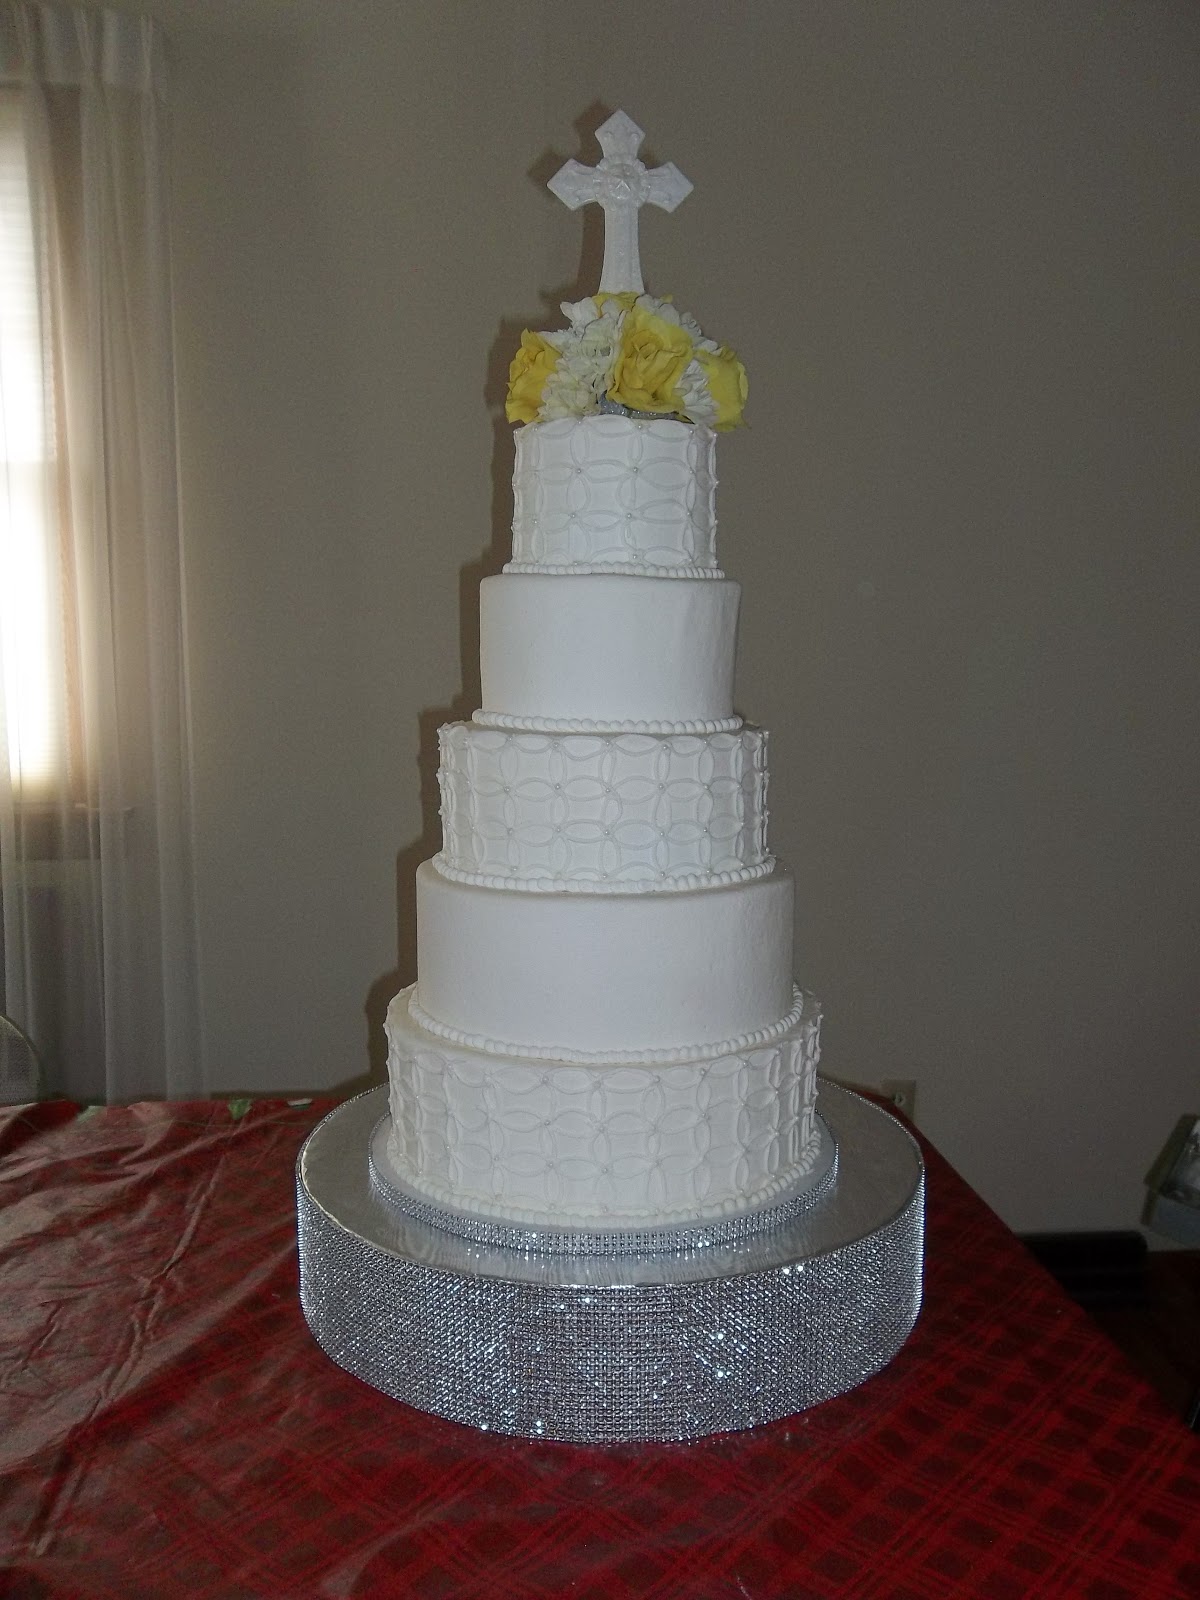
4b. Finished bling base with cake. You can also bling the cake board. Here 1/2" wide strip of bling ribbons was wrapped around the edge of the cake board.

NOTE: An alternative to a round cake dummy might be a stack of cake pad circles.
Any questions? You can contact me through Sandy Swart Cakes on Facebook or at sewsweet2@hotmail.com
Albums of my decorated cakes can be seen at: http://flickr.com/photos/sewsweet2/sets
Products Used:
Silver Bling Ribbon
Other colors available:
Apple Green Bling Ribbon
Gold Bling Ribbon
Pink Bling Ribbon
Purple Bling Ribbon
Red Bling Ribbon
Silver/Black Bling Ribbon
Turquoise Bling Ribbon


What a great idea!
ReplyDeleteThanks for sharing this...looks beautiful
ReplyDeleteExcellent idea! Thanks for sharing
ReplyDelete