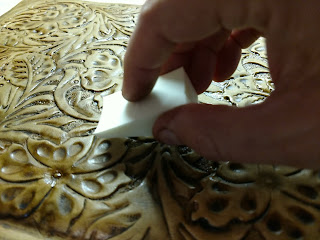
Create a great book with our tooled leather texture mat!
Roll out paste and use texture mat to emboss the design. Pull mat off fondant to avoid stretching the design. Cut to size and place on cake.
Use a dowel to get the valley near the spine.
To cover the cake board and carry through on the book theme, I used wafer paper from Icing Images. I printed some pages of poetry with an edible image printer. Then randomly tear the pages and apply to the board with piping gel. I made sure not to glue down the edges of the torn bits.
Once the board is covered lightly spritz with water. Wait for the wafer paper to dry and check the amount of curl the edges have. Spritz additional times to get desired results.
Next I used a brush and some of the same colors I used on the book to add some color to the edges of the papers.
To get a slight shine on the leather I used PME clear spray on the book cover.
For the corners of the book I wanted to add some embellishment. Using the corner mold, brown and gold dust to get an aged look.
I used the same mold for the lower corners but cut finished molded item.
 |
| Look at the lower edge for the cut portions |
Using the same printed wafer paper I created a fun flower.
DTC Products Used:
Texture Mat Lg - Tooled Leather
Get great wafer paper from Icing Images
For a more detailed description on how to create a book cake, check out the great video by Sharon Zambito at SugarEd Productions.


No comments:
Post a Comment