Friday, July 9, 2010

5 Petal Flower Jewels


Cupcakes are all the rage these days!  Check out the project that Christine Ammel completed with our 5 Petal Flower Jewel mold.

I had some leftover batter for a cake I’m doing this week, so I made mini cupcakes for my younger daughter’s preschool teachers. I put a swirl of white or lavender buttercream on each cupcake and topped them with a variety of flowers, hearts, and butterflies. I thought this presented me with a perfect opportunity to try out the 5 Petal Flower Jewels mold from Decorate The Cake.


I first tried making the flowers with fondant. Each flower is 1.5” across so it requires very little fondant. I’d say about a half to three-quarters inch ball. Just press it into the mold and play with it a bit to get it inside the lines. The flower released beautifully from the mold! I dusted the flowers with luster dust after taking them out of the mold, but I also tried dusting the mold before putting in the fondant. Either way creates a nice sparkly flower. I added a small fondant pearl for the center of the flower. But it just wasn’t “gem”-y enough for me.

So I went ahead and tried my hand at poured sugar. I put some clear venuance pearls in a small ramekin and melted them in the microwave (about 30 seconds or so) . Then I stirred in some purple candy color to make a deep purple color. I had to re-melt the “sugar” after that because it had already begun to set up. I then poured the molten sugar into the silicone mold that had been sprayed with cooking spray. The individual molds are small so I didn’t do such a great job of staying inside the lines. Fortunately, the sugar cools fairly quickly and within a minute, it was cool enough to handle and I pushed it better into the mold. I did have some stringy pieces which I think I will be able to handle better as I work with poured sugar more. But for a first time, I thought it turned out pretty well. Again, I added a small pearl of fondant for the center.


The teachers at my daughter’s preschool were so surprised by the delivery this morning. Their appreciation makes the work so worthwhile!

Christine Ammel

My website is http://christyscustomcreations.shutterfly.com
My facebook page is www.facebook.com/christyammel
My twitter page is www.twitter.com/christyammel

Products Used:
5 Petal Flower Jewels

Wednesday, July 7, 2010

A Trio of Crosses by Sandy Swart

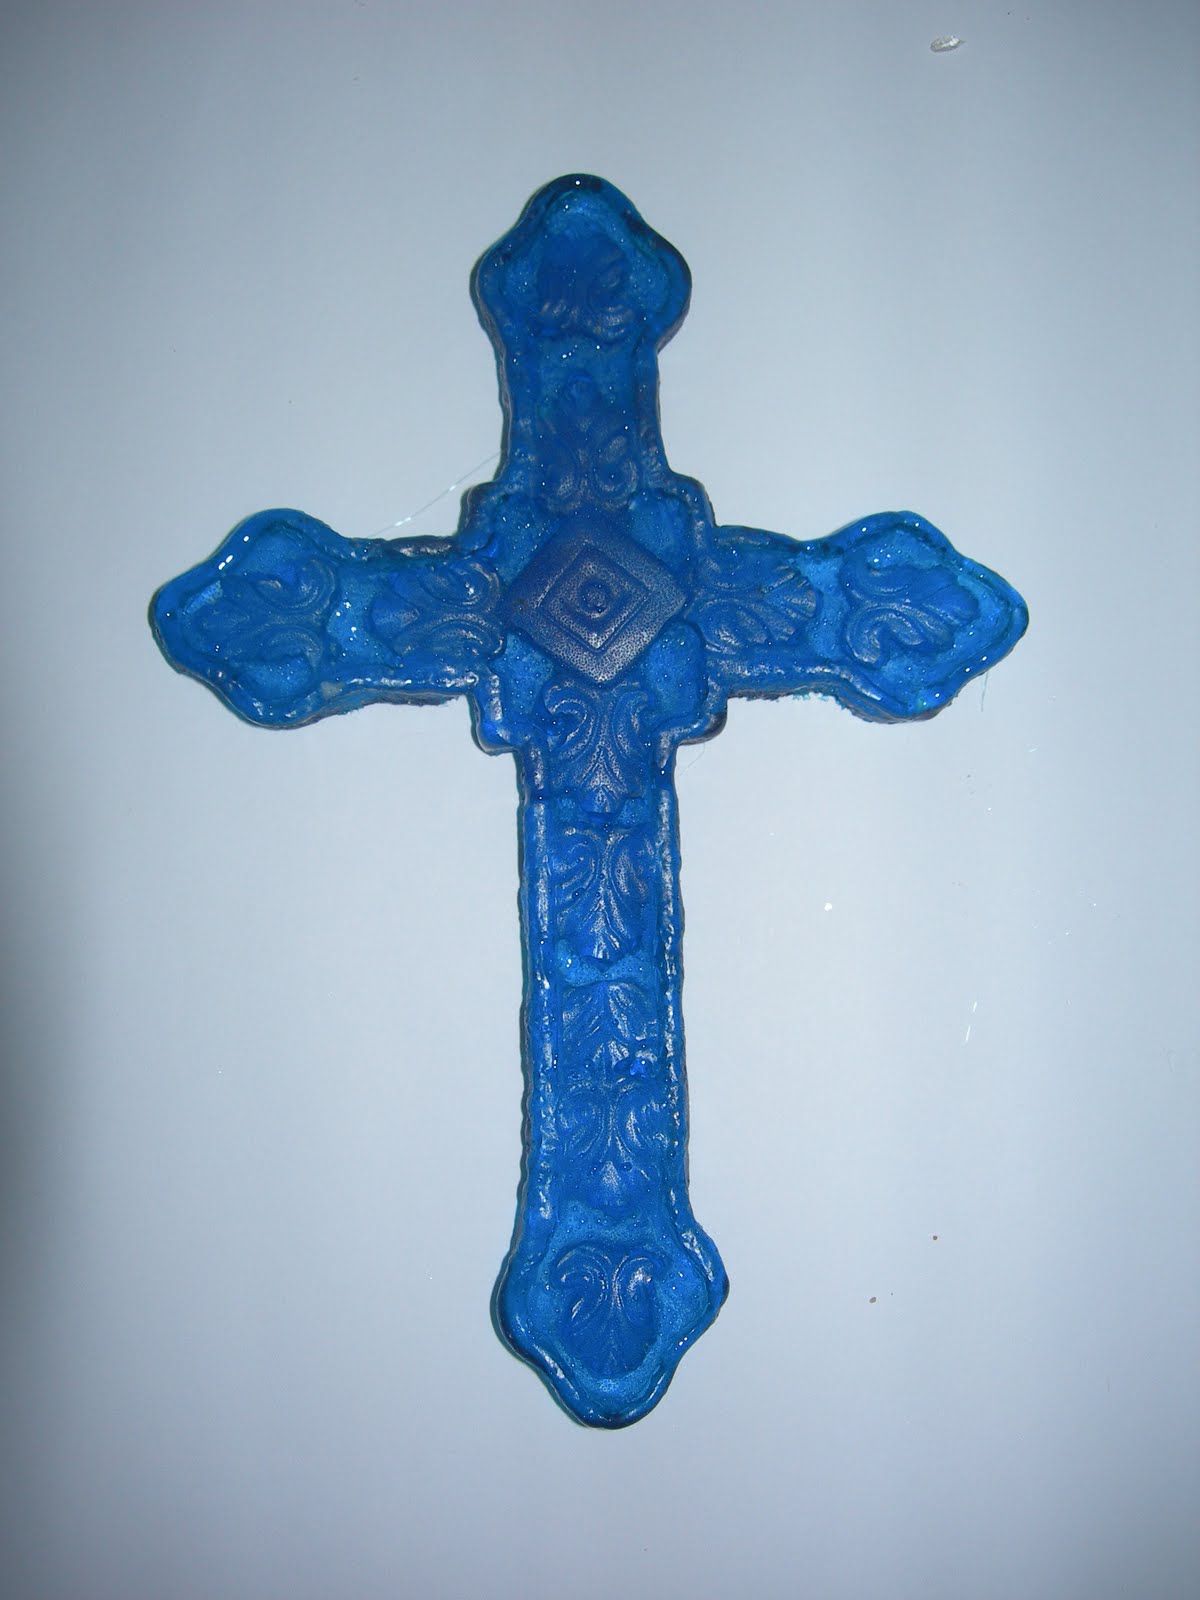
The next DTC user group project was created by Sandy Swart a.k.a. Sewsweet2.  Sandy choose various cross molds with varying sugar mediums. 

The western star cross is one of my favorites.  I found the original item at Hobby Lobby, where I find quite a few items to turn into molds.  She shows how versitial the mold is by using it as a cake topper as well as supporting decoration. 

As a cake topper, this white chocolate cross is the perfect compliment for the 3-tiered cake. 


The second example of the western star cross is also in white chocolate and used to complement the beautiful airbrushing and piping scroll work.


The second cross example is from the starburst scroll cross mold and was created by swirling pink colored white chocolate into white chocolate.  The first picture is the finished chocolate and the second is dusted with pearl dust.


The final example uses the rough leaf cross mold and is done in layered poured sugar.  I just love this effect and the color choices -- Makes for a very unique and special addition to a cake.


To see more of Sandy's creations be sure to check out her website at http://community.webshots.com/user/sewsweet2.  If you have any questions or comments, please feel free to leave them below. 

Be sure to check back tomorrow for the next DTC Product User Group project update!

Melissa

Products Used:

Wednesday, June 30, 2010

Wedding Dress Corset Cake/TuTu Cake


Oh! this has to be one of my favorites - the Corset Lace.  When I found this lace I fell in love with it and knew it had to be made into a mold -- It has proven to be extremely popular and I love seeing the different projects using it.  I was so excited to add it to the list of test products for the Decorate the Cake Product User group and just love what Lori came up with for her project. 

Wedding Dress Corset Cake/TuTu Cake
by Lori Holbrook, DTC Product Test Group Member


My name is Lori Holbrook but I am also known as the Busy Bee Baker. I am a self-taught cake girl!!! I love to cook and after the birth of my first nephew my cake baking turned into cake decorating. That first cake prompted some of my friends to want cakes. After a move my cake orders had ceased until someone saw a picture on facebook of the last nephew’s 1st birthday cake and my business has taken off. I am also a full time special education teacher but I have a huge passion for cake art!!!! My business name is a celebration of the 3 nephews we call the Killer Bs…..all their names begin with me….so each B in Busy Bee Baker represents one of my nephews!!! You can check out my work on Facebook….search for Busy Bee Baker!!!!


This was a fun creation for me. I had been toying with the idea of a corset cake when I saw the corset mold. I used three different DTC products for this project. The Corset Wedding Cake then morphed itself into a Tutu cake. I had some batter left over from another cake order so I made one 4 in” layer and two 5” layers. I dirty iced all three with the 4” layer between the two 5” layers…to try and have a little bit of a curve so I wouldn’t have to sculpt. My cake was not of the sculpting texture….future cakes would be sculpted.


Once the layers were dirty iced and chilled, I rolled out white fondant and embossed with the feather swirls and draped the layers. Next I made the corset from the mold and attached to the cake to cover the back seam. I applied edible sugar pearls to the front of the cake and then made pleats and attached to the bottom of the cake and added a fondant rope to cover the seams. Then I draped white fondant around the top of cake and spiraling in to cover the top. Once I completed I got the idea to paint the corset with luster dust to show off detail in pictures….that is when I had the vision of a tutu cake…..I added a few fondant roses to the bottom of the corset and snapped some pictures.


Then I went back toke off the roping and rose buds and painted the bodice of the cake and the bottom pleating with pink luster dust. I added the roping back and thought the front needed something more so I added a fondant cut out of the DTC medallion and dusted it with luster dust and attached to the bottom of the cake........then made a pair of fondant ballet shoes to go atop the cake of to the side.


I think the corset added a neat detail that can be used for the front of back of cake.

Along with the corset mold, I used the Fancy Scroll finding mold and the Feather Swirls #2 Texture Mat shown below:


Here is the corset lace press

Here are the progression pictures and final results 


Products Used:


Sunday, June 27, 2010

5 Petal Blossom Cupcakes - Georganne Bell

Our next user group project comes from Georganne Bell and showcases the 5 petal blossom veiner. This veiner is BY FAR, the most popular product that we offer. I hope you enjoy the inforamtion that Georganne has provided and her beautiful cupcakes.

I am so jealous of those talented people who can make amazing sugar flowers. Sadly, I will never be one of them. When sugar flowers are required, I make the bare minimum number that are necessary, take way too much time to make them, and I'm pretty much never happy with how they turn out. I have to say though, I am LOVING the 5 petal blossom veiner. It makes creating simply elegant cupcakes more...well...simple. I have a little confession to make. I made nearly 3 times as many flowers as I needed. Each time I pulled a beautiful flower off the veiner, I told myself that I would make just one more.


While making my rather abundant bundle of flowers, I learned a couple of things. First, after cutting out the fondant with a 5 petal cutter and placing it on the veiner, it helps to push the center down just a little before gently pressing down with the top piece. Second, popping the whole thing in the freezer for 30 seconds really helped me get the flower out with the exact same shape as the veiner. Did I mention that I love this thing? Love it.

Georgann Bell
http://www.lilaloa.weebly.com/

Product used:
5 Petal Blossom Veiner

Wednesday, June 23, 2010

Mermaid by Maria Short

Maria Short, chef/owner of Short N Sweet Bakery & Cafe in Hilo, created this adorable mermaid for her first project as a member of the DTC product user group.

She chose the small scale fish texture mat and the spiny starfish mold.

The mermaid is hand molded from FONDX  strengthened with tylose.  If you listen close enough you can hear the ocean breeze and the waves crashing on the shore! 

You can check out more about Maria at www.shortnsweet.biz.


Products used:
Spiny Starfish
Small Fish Scales Texture Mat

Monday, June 21, 2010

Finally - the Finished Cake


I hate it when my "minds eye" and my hands do not agree on the final cake design.  I had all intentions of being able to post a "play by play" of the cigar/wind cake -- But of course that did not happen --

Do you ever have those cakes that for some reason are "hexed" or "cursed" from the beginning?  It seemed like everything that touched or was needed for this cake was doomed -- but then at the 11th hour it all came together for the final product.


The top of the humidor is chocolate and created from a mold of an actual cigar humidor.  The cutter, the vent and wine bottles are also from silicone molds.  The wine bottles are chocolate, a half and full bottle mold. The cigars where made using "cake ball dough" and brushing them with melted chocolate.  The labels for both the wine and cigars are from edible images.   The cakes sit up a "grave marker" i.e. gray fondant covered cake board.  Here's a close up of the details on the top.    


The molds used for the cake will be available on www.decoratethecake.com in the near future. 

So after a week in the kitchen, it's back to the workshop to create some new designs.  The DTC Product User group is busy working on projects that will be posted soon.  I can't wait to see the final products!

Melissa


Wednesday, June 16, 2010

Wine and Cigars - Day 2

As they say, the best made plans -- and they also say that silicone only sticks to silicone -- WRONG -- All the work I did on the full bottle mold has to be redone, the silicone stuck to glass -- and when I removed it tore cracks into the mold-- So, in a few minutes I'll be headed down to clay up another bottle and start round 2.

The other molds in process for the cake are a stemless wine glass (which also stuck and is being redone), a glass panel mold for the top of the humidor, cigar molds and some misc pieces for the piece. 

So for Thursday, will be baking the cake and finishing up the molds.  I need to have everything in place to assemble on Friday.  I'm debating about what to do with the cake board --

Tomorrow's update will have pictures -- none for tonight -- I couldn't bare to look at the mold I had to trash!

Melissa

Tuesday, June 15, 2010

Wine and Cigars

There are some clients that I just adore.  You know, the the ones that understand the passion to create and appreciate the effort that is needed to make "a special" cake.

Yesterday, I received an email from one of those customers, and she needs a cake for a special event on Friday-- and before I could even finish reading the email, I was already designing the cake in my head.  A little short notice, but the schedule is light this week, plus with our new Intern (who you will meet soon) this cake is manageable (well, until my head gets a hold of it!!!)

The theme is wine and cigars!    

So immediately I'm  off to the workshop to create a new mold.  I want to do a 3D Wine bottle, not one of my 1/2 bottle processes or using a glove mold - but a true 2 piece wine bottle that is completely realistic.  So I clayed up the bottle, and worked to get the seams just right, added the foam core sides and poured the first 1/2 of the mold. 


The next step will be to remove the mold box and clay and pour side 2.  Once that is cured, I can begin working on the bottle for the cake.

The cake will be a cigar humidor.  Other design elements will include a stemless wine glass, cigars and cigar accessories.

Today's goal will be to finish all the molds needed for the design - So I best be headed to the workshop to get started. 

Melissa

Sunday, June 13, 2010

Let the Projects Begin! and a preview for next week....

What a great response to the DTC Product User Group!  At this time all spots have been filled, actually we expanded it from 15 to 20 due to such great response.  For those of you that still would like to join, we will hold your information for future opening or expansion. 

Several of the group members have placed thier orders and they will be receiving them early next week.  I'm so excited to see the results of thier "projects" and even more excited to be able to share thier experiences here on the blog @ Decorate The Cake. 

I am working on a few projects of my own -- and Saturday night, I found the neatest set of "key holes" and matching Keys -- I had 15 minutes before JoAnn's closed, all I needed were brushes and to not spend $$$  -- I thought, I'll just run in and grab them - in and out, right?   Well, on my way to the back of the store, I spotted these items in the scrapbooking isle -- just had to have them.   The key holes are very classly and incredibly detailed - the keys have words on them like secret, love, etc....  So Im going to squeeze these item in to the next batch of new products -- I imagine cute little mini cakes that look like boxes with keyhole and keys to open, or a diary cake --

Other items for this week include 1) finishing the new 2 piece bottle mold - now that my fingers have healed from the sugar accident! 2) more new lace - I have several new pieces that will be put in to development and can't wait to share them and 3) gumpaste flowers How-tos - now that I have the cutters for the new DTC veiners, I'm dying to work on sugar flowers... 

That's it for now! 

Saturday, June 12, 2010

Will Work for Molds? Come join DTC's Product User Group!

Yes!  Decorate the Cake is forming a Product User group!  and we are looking for folks to join the fun. 

As a member of the User Group, you will choose from a group of selected products and we will send them to you at no cost and the items will be yours to keep - in return, we ask you to "use" the product in a confection related project of your choice and create documentation along with pictures that can be used in a future blog post.

Be as creative and imaginative as you like, as long as the project revolves around sugar art (cake, cookies, candy, etc).

Projects are due within two-weeks of receiving the products (give or take a few days and/or unforeseeable circumstances) and upon receipt of your project results you will receive $25.00 store credit.

The initial User Group will be limited to 15 people.

US and International residents are invited to participate.

If you are interested in joining, send an email to sales@decoratethecake.com  with a subject line of  "Join DTC User Group" and you will receive detailed information and a questionnaire to get you started.

Once the initial limit of 15 participants is reached, the inquires will be held in the order they were received to fill openings or expansion of the group.

I'm so excited and can't wait to see the groups creations!

Melissa

Wednesday, May 12, 2010

And we begin to Blog.....

I thought it might be fun to share what goes on behind the scenes of the business of making silicone and other Cake Art products -- From choosing an item to mold to the end sugar piece.   The objective of the blog will be to share information, tutorials, suggestions, photos and ideas from both a consumer and a manufactures view point. 

So where to start?  Since it's Spring, let's start with blossom and leaf veiners

It's always a rush this time of year to get new blossom and leaf veiners into production.  The blooms only have a limited time that they will hold up for veining, once they are too soft the impression will not hold.  Our DTC veiners are made from actual "real live" flowers.  I can't tell you how many beautiful flowers I have dissected to get the right size or structured petal. I also can't tell you how many blossoms have somehow found their way into my pockets from a nursery or a public garden. 

It may take several attempts to get both sides of the blossom or leaf to imprint.  I use Silicone Plastique® from Make Your Own Molds to do the bottom layer of the veiner and then DTC Silicone for the top layer.  Once both sides are completed, the veiner is ready to be added to the store inventory.

Here's a few of the new veiners for Spring 2010 --

Dogwood Petal, Centers and Leaf
Tree Tulip
Tulip
Calla Lily and Calla Center
Snap Dragons (one of my favorite)

So this should give you a preview of some of the new spring items that are in the works - I plan on posting more information on each as they become available, including directions and pictures.

Hope to see you back soon!

Melissa -