Tuesday, January 15, 2013

Acorns fall hunting theme

Thank you Sandy for a wonderful blog post!

I had a groom's cake for December that was to follow a hunting theme.  The mother of the groom found a cake on the internet and it served as the inspiration of the groom's cake that I created for them.  I cannot give credit to the original creator because I was sent the picture not the link on the web.  Here is my interpretation of a hunters groom's cake.

They wanted a cake with camo, tree trunk, initials, arrow, deer antlers, gun shot shells, and bullets on the cake. It only seemed natural to use gumpaste fall leaves and some acorns to help to give this cake a "fallish" feel to the cake.  The cake was placed on a camo puff base and a leather tooled look for a table cloth.

Decorate The Cake just came out with an acorn mold which was perfect for that extra finishing touch to this cake.

Supplies needed:
three piece acorn mold from DTC
medium brown fondant
dark brown fondant
brushes
gumglue
flower glaze (confectioner's glaze), optional
cornstarch, optional
freezer (too big for the picture)
Supplies needed
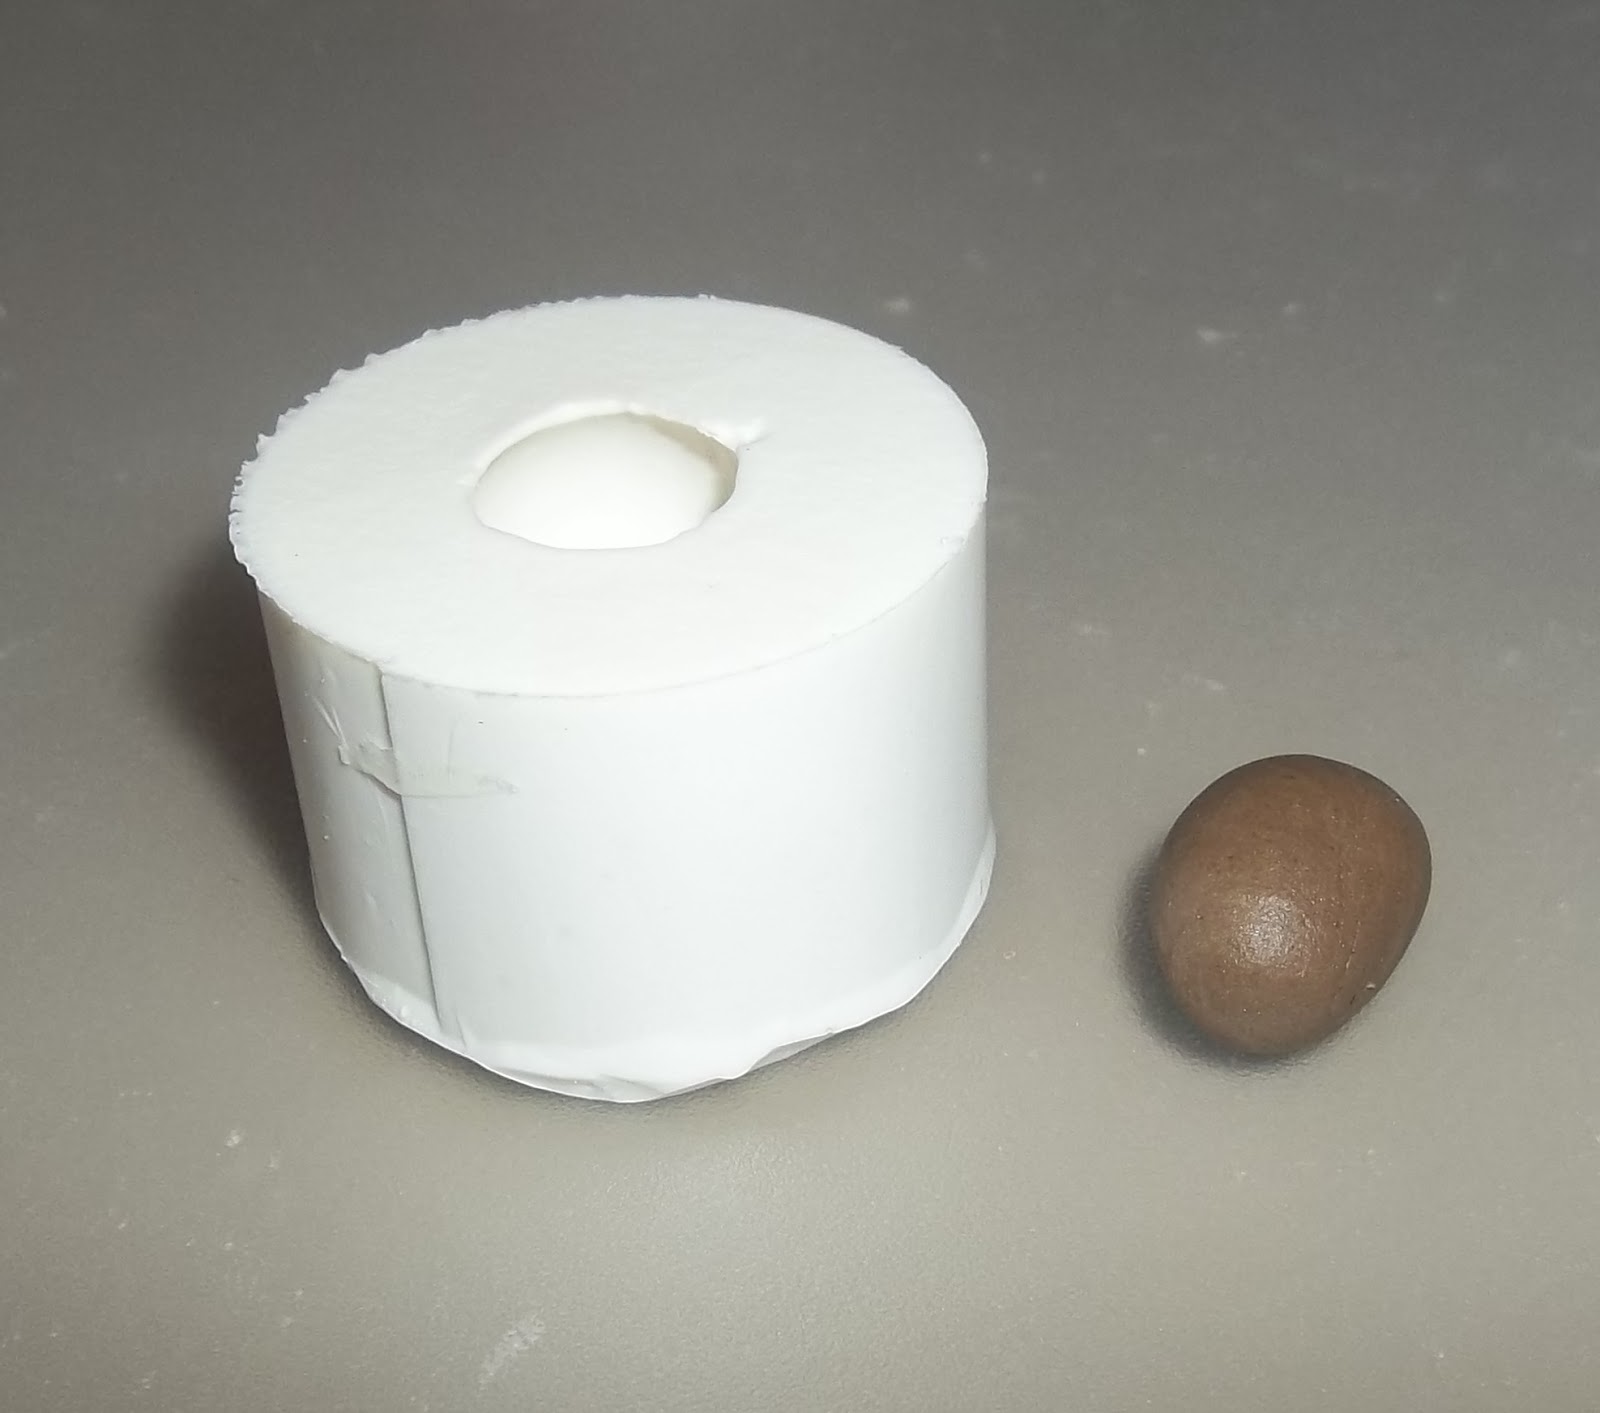
The three piece DTC acorn molds comes with two molds that are for acorn bases and the largest mold is for two different sizes of acorns caps.  (Forgive me, I don't know the scientific terms for the two parts of the acorn.)

Using the medium brown fondant, mold an acorn cap for the size acorn you are making.  The cap needs to be even with the top of the mold but slightly concave.  You do not want it even.
Molding the Cap

I made one acorn base to begin with and popped it out and used it to approximate the amount of fondant I needed for each acorn base. Roll brown fondant into small log.
Fondant log
Place the fondant log in the mold and I used the end of a paint brush to push the fondant down into the mold. I wanted to be sure that I had the fondant completely shaped to the ball shaped base.


Pushing the fondant into all parts of the mold
Do not fill the base even with the top.  I'd say about 1/16" from the top edge or the two pieces will not fit together properly.

Filling the base

Because the fondant will be misshapened if you pop it out of the mold fresh (at room temperature), I stick the mold in the freezer for about 10  minutes.  Then one can pop the acorn base out with no problem.


Popping out frozen base

Cap and base completed

I used gumglue attach the base to the cap.
Gluing base
Here's a picture of the acorn together.  The cap has a little bit of a gap between it and the base.  Acorns often lose their  caps so I didn't  want the "fully" attached look.

Finished acorn
THE FOLLOWING IS OPTIONAL:
My acorn looked a little dull to me, so I painted the base with flower glaze (confectionery glaze). Here's a picture of what your bottle will look like if you haven't opened it for a couple of years.  Hubby had to take it to the tool shed to get it open.  Notice the tool marks on it.  I have to admit when he left with the bottle, I was wondering what I would put the glaze it if he busted the neck of the bottle.  (Note to self: open bottle every week or so to keep bottle from gluing shut.)

Tool marks on confectionery glaze bottle
An acorn cap has a dull dusty look to a real one, so I dusted the cap with cornstarch to dull it and give it that dusty look.  Sorry no pictures of painting the glaze on the base or dusting the cap with cornstarch. I was in a hurry to finish up and get the groom's cake delivered.  Guess I messed up on my time management on this cake.

Here is a close of of some of the acorns I placed around the base of the cake with the gumpaste leaves. More were placed on the top edge of the bottom tier.

Product Used:
Acorns Small


Sandy Swart aka sewsweet2
Check out my cakes at:  http://www.flickr.com/photos/sewsweet2
or my cake photos on FaceBook:  Sandy Swart Cakes
To see how I make my puff bases check out the tutorial at:
flickr.com/photos/sewsweet2/sets  

Wednesday, October 24, 2012

Day of the Dead Celebration

 A  national holiday in Mexico, this celebration is also celebrated in many
parts of the world. It is a time to remember those who have passed.
Day of the Dead cookies decorated with sugar skulls and flowers.


This skull mold has stone eyes which can be filled in with a contrasting color, add slightly less paste than needed to allow for spreading when the top color is added. Place the mold in the freezer for five minutes to get the details to show clearly and for ease in releasing the mold.

Be sure to clean up the edges of the eye area with your finger to get a nice sharp line.


 Piping gel or buttercream icing can be used to adhere the fondant to the cookie.


The backdrop is decorated with a simple garland.


Chocolate cupcakes were flavored with cinnamon and cayenne pepper.


The rose mold and simple flowers decorate the mini cupcakes.


Chocolate Skull Pops


A wood grain mat was used on the fondant before attaching to the cookie.

Vendor Credits:  Party Styling and Desserts by Jeannie Gearin Thepastytip.blogspot.com

Tuesday, October 9, 2012

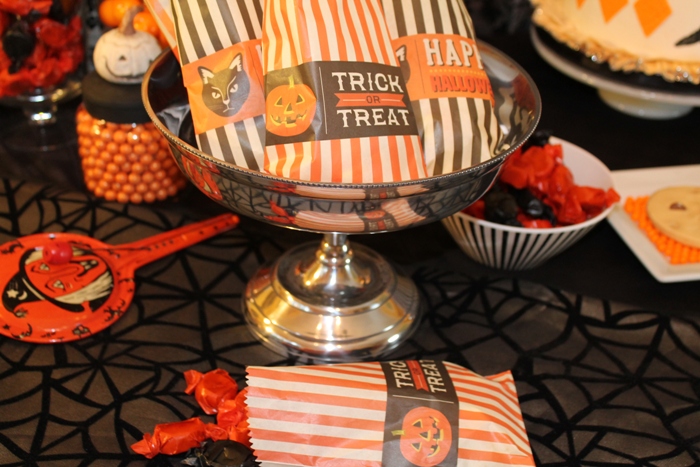
Halloween Dessert Table

Jeannie Gearin does it again with another amazing blog post.  This time it is a great idea for Halloween!


 A Halloween Dessert Table with a vintage feel, the dark colors and harlequin patterns
repeated throughout to give a sophisticated look. The cake is fondant with a hand
sculpted face. The crow is painted with gel colors.

Halloween Fangs

 The cupcakes have fondant fangs. They can also be  made in isomalt with red for the incisors, giving a bloody look!


Lady Skeleton and Pirate Skull

 When filling the mold, it is easier to fill with too little and then add more
as needed rather than using too much. With a small amount of paste you can see
where the details are and be sure to fill those areas carefully.
I like keeping my paste under a glass when I am going to use it a lot. It is easier
than rewrapping it in plastic wrap over and over.


 I find safety scissors are one of the best ways to cleanly
remove excess paste if you do end up with some. Push it to
the center, making sure the edges are clean and crisp.


 When adding a second color, I just add it right on top without
any water or other type of glue. The paste is fresh and it adheres
on its own. I place on the freezer for about 5 minutes to get
the most out of the details.


 When you overfill areas you will get this type of look which to a decorator is not
great but to anyone else is still impressive. I hope you can see the detail of the teeth
on that skeleton.


 The plates and candy bowls are from Target. The favor bags and candy tubes are at Michael's.
The Halloween Banner is from ButtonsandBells on Etsy.


Dessert Table by Jeannie Gearin


DTC Products Used:

For more amazing work from Jeannie, check out her blog, The Pastry Tip!


Tuesday, August 28, 2012

Precious Flower Cupcakes

Check out the latest blog by the talented Rosalynne Rogers of Ronnie's Cakes and Cupcakes.


I used the 2 inch diamond mold for cupcake toppers.  For my purposes I chose to only use the top section of the mold.

This one!
Knead the fondant until soft and pliable.  Then roll into a smooth ball.  Place the ball in the mold and stop to take a picture.  lol


Press down until you fill the mold. (Remove excess with a small sharp knife.)   For my purposes I smoothed the fondant flush with the mold so that it would sit flat on the cupcake.

Yes, there is fondant in the mold - I should have used something other than white.

Place the mold in the freezer to set.  While chilling, decorate your cupcake.  I used a tip 204 to make petals on the edge.

Remove your mold from the freezer and let it set until it has hardened slightly.  Then take some Super Pearl and brush over your 'diamond' to make it shine.  (Diamonds actually sparkle, but we won't split hairs....)


After your diamonds have finished setting, you can place it on top of the cupcake flower to top it off!!  Waaa-laaa!!!   You have a 'precious' flower.  (Get it?  Diamonds are a precious stone.... hehehe)    Thanks for staying awake enough to read my first guest blog!  Can't wait to see you again!!!  

Go visit Rosalynne at:

DTC Product Used:
3D Diamond 2 Inch 

Monday, August 20, 2012

"Let Them Eat Cake"- The Jabot Mold Sequel

All I can say about this next blog post is WOW!  Joanne Wieneke outdid herself with the amazing combination of molds, creativity and some awesome talent.

I know that you have been waiting for the sequel of the Jabot Mold tutorial. This is it...
I have gathered a number of very beautiful and versatile molds to join the Jabot Mold Collection from DTC and incorporated them to a cake design, inspired by a quote  "Let Them Eat Cake", the phrase commonly misattributed to the lady named Marie Antoinette....

(photos from Wikipedia)

If you scroll back, reading archives of DTC Blogs, a lot of molds have already been presented and how to use it.  I used all necessary Tips and Techniques mentioned in DTC Tutorial blogs:
Lace Press Mold Tutorial by Morsels by Mark
New Applique Lace Molds by Sherrie Ortiz
Bridal Motif Lace by Renea Feagin
The Jabot Mold by Joanne Wieneke
Tuscan Jewelry Bowl by Joanne Wieneke

This should be easy, all you need are: fondant or gumpaste, shortening,  gumglue, royal icing , palette knife or  plastic clay knife, toothpicks, rolling pins, small scissors, paint brush, some gold and pearl dust  and a lot of patience and a ton of time....

Here are the list of molds that I have used for this cake:


 (pipe dots of royal icing over  the filigree leaf)


(fold left and right gem wing and stretch to a sausage by rolling the middle gem between your fingers to create the arm)

Jabot Molds


           Brooch 2C Square oval
(cut wings of the mold and randomly position them to make a gem buns on hair)


Stack up your cakes, in this case, I used styrofoam for visual purposes.


Thank you very much Glenda and DTC for giving me the opportunity to work with your beautiful and fantastic products!
 I hope you all enjoyed this inspirational cake as much as I enjoyed creating them...

Happy Cake Decorating!
 Joanne Wieneke


Products Used: