Friday, July 30, 2010

A Beautiful Cameo

Rebecca Stewart created a beautiful bell cake using a cameo mold.


The setting and “Sisters” cameo were molded from gumpaste and allowed to dry. After drying the setting was dusted with Inca Gold. The cameo was flooded with Black Magic petal dust in an Everclear suspension. I used my airbrush to blow a stream of air to aid in drying. After drying, the cameo was lightly buffed with a soft towel to remove a little more color from the raised surfaces. It was then dusted with Super Pearl (I used my large, fluffy brush that is only used for Super Pearl, and did not add any dust to the brush).

The two pieces were attached with a thin layer of gumpaste and gum glue and steamed.

The bell shaped cake was covered in flesh toned fondant. A choker ribbon was cut from fondant and dusted with Black Magic petal dust. (I just covered a pan for this project.)

Rebecca is a full time school library director with a passion for cake decorating. She has been decorating seriously for the last 5 years, when she discovered gumpaste and fondant, and as a hobbyist for over 30 years. She has albums of her cakes on both Flickr and Facebook.

Products Used:

Cameo-Sisters mold

Cameo Setting #1 mold

Thursday, July 29, 2010

Sandy's Anniversary!

Sandy Swart created a beautiful anniversary cake using the square medallion mold.


This weekend was our 29th wedding anniversary. Just hubby and me and we’re tired of cake. LOL Here’s a token anniversary cake for DH using left over calla lilies from two wedding cakes this past month, two 6” layers baked with leftover batter, and cornflower blue buttercream leftover from the beer cooler cake done this past weekend. I have wedding cake coming up with drapes (that I haven’t done in a long time so decided to play around. Made fondant drape with moirĂ© texture to wrap around base of cake. Make a butterfly bow and instead of a knot I used Melissa’s square medallion mold and just molded a corner of it in fondant. Painted it with luster dust/everclear and used it for the bow knot. I really like the way that part came out. Just goes to show, you have to think smaller instead of always using the entire mold.

Sandy

Products Used:

Wednesday, July 28, 2010

Buckled Purse

Rhonda Christensen created a beautiful purse cake using the studded oval buckle mold and the 5-petals blossom mold.


I knew that I had a purse cake coming up soon, so I chose this studded circle buckle mold to do this cake for a 13 year old. The mold is so easy to use. Just put the gumpaste in and use a very sharp knife to even it out, unmold and let dry. I used some silver luster dust to paint the buckle.

Tuesday, July 27, 2010

Beautiful Butterflies!

Jessica Montoya created some beautiful cupcakes using butterfly wing molds.


I used white chocolate which I quickly melted in the microwave. I filled the mold with the melted chocolate and tapped the mold on a flat surface to remove any air bubbles and I cleaned away any excess chocolate with a small spatula. I placed the mold in the refrigerator for about two minutes to set. Once the chocolate was firm I removed the wings from the mold with great ease. I then dusted the wings with pink and green pearl dust to bring out the beautiful details. I attached the wings to the cupcakes using icing and then created the body of the butterflies with the same white icing which I then dusted with pink pearl dust.

Jessica

Products Used:

Similar Products:

Monday, July 26, 2010

Frog Loop Closure

Georganne Bell created a fashionable cake using the frog loop closures mold.


Frog loop closures are usually made of a small cord looped and tied around itself and are fastened on clothing items to take them from simple to sensational. I made my own frog loop closure out of fondant and fixed it on my mandarin collar cake for that same striking look as its rayon counter part. (And the best part is that all I had to do was squish fondant into a mold---no tricky tying necessary!) It's practically perfect for my upcoming move to the Orient.

I have a few helpful hints for using this mold. First, when putting the fondant into the mold, roll the fondant into a thin rope. I'm talking thin as a lollipop stick. Then carefully lay it inside the mold. This helps to get fondant everywhere you need it, and keeps it from getting everywhere else.


And for the record, it is easiest to put the two pieces together BEFORE you try to put them on your cake. Trust me on this one.

Georganne

Products Used:

Saturday, July 24, 2010

2010 Christmas in July! Saturday and Sunday Only...

‎It is time for the annual Christmas in July sale at Decorate the Cake.  This once a year sale offers discounts on all items.  This year we are happy to announce that there is NO COUPON CODE required!  Yippee!!  All items are updated in the store with a sale price that is reflective of the discount. 

So you ask, what are the discounts? 

40% off all molds, texture mats and package bows
35% off all petal and leaf veiners
25% off cutters, DVDs, sugar bottles and venuance pearls
10% off clearance 

Happy Shopping!
Melissa

P.S.  We've added a "share" button - at the end of each post (past or future) you will be able to share via facebook, email, twitter and others! 

Friday, July 23, 2010

Fishy Fishy - Take Two

Glenda Stockwell created an asian themed cake using the koi fish mold.


I loved this mold the moment Melissa showed it to me!

To create the koi I used fondant mixed with tylose. I firmly pressed the fondant into the mold and smoothed over the back with the palm of my hand. The mold then went into the freezer for about 15-20 minutes -- one I forgot about and it was in for a good hour with no damage done. I then let the fish sit and dry for a few days - this step wasn't necessary but I was busy so they had to wait. I used the all-mighty google image search to look for koi coloring and then using everclear and petal dust I painted the designs on my koi. Then I used a pearl sheen airbrush color and lightly airbrushed each --- this didn't show up that great in the pics but I liked the look in person.

I marbled the fondant for the cake and board --didn't look as marbled on the cake as it was on the board. Then stenciled an asian symbol that should read "peace" according to the stencil manufacturer but according to my friend it is not peace and he's not sure what symbol it is. Bamboo looking fondant pieces form the border. The bamboo was dusted with browns and greens.

For the top of the cake I create a water lily looking flower. I didn't have cutters or veiner so I just kinda winged it.


I hope you enjoy using this mold and make sure to share your pics!

Glenda

Products Used:


Thursday, July 22, 2010

Timeless Classic Look


Check out the project that Katherine Dungan created using a brooch mold.


I chose this mold to work with as I had an upcoming birthday of some one who wanted a classic style cake.
It gave a very nice broach about 1 1/2" long. I wanted one that looked like a pearl set in gold. To accomplish this I put just enough white fondant/gumpaste mix to fill the center cavity. The next step was to brush it with a little glue. Taking a yellow fondant/gumpaste mix is finished filling the mold. I used the yellow so that when I painted it with gold dust, if I missed any spots, it would not be as obvious as it would if it were white.

The cake was a white 10" hex cake. The reason for the hex cake was to allow the broach to stand out. The topper was fresh flowers and I added small pleated drapes on the corners. I love how the mold turned out but wish I had used different flowers.


I think the broach added the timeless classic look I wanted.

Thank you so much for letting me part of the DTC product testing group.

Sincerely,
Katherine Dungan

Products Used:

Ballerina Beauty


Check out the project that Leslie Schweitzer created using the 5-petal blossom veiner.


I decided to use both sugar as well as gumpaste with my mold.

For the sugar:
I tried two ways to make the sugar flowers....venuance pearls and isomalt. I found the venuance pearls to lack clarity, they became cloudy upon completion. The isomalt turned out beautifully clear! After preparing the isomalt according to directions, I poured it onto the mold as accurately as I could (some does spill over, that's ok because I have a baking mat underneath). Then, I pressed the opposing side of the mold on to create the two-sided effect that is so outstanding with this mold.

I did not have to be perfect with the amount of isomalt, whatever spilled out and over was easily broken off when firm.

In less than 5 minutes, I had a perfectly beautiful, multi-dimensional bloom.


For the gumpaste:
I simply colored the gumpaste pink and pressed it into the two sides of the mold. When slightly firm (less than 5 minutes), I left it to completely dry on crumpled aluminum foil. When totally firm, I painted it lightly with a pink airbrush paint.


I hope you like this mold as much as I adored using it!

Products Used

Wednesday, July 21, 2010

Floral Applique

Check out the project that Kristine Fox created using the Applique - 10 PT Floral lace mold.


I used the lace applique mold on a fondant covered cake. I lightly dusted each "flower" with silver platinum dust, and then lightly sprayed the whole cake with Lucks Pearl Shimmer airbrush color. The fondant ribbon along the bottom completes the cake.


Visit Kristine's wesbite: Confections of a Housewife

Products Used:

Tuesday, July 20, 2010

Fishy Fishy


Check out the project that Leslie Schweitzer created using the koi fish mold as well as the 5-petal blossom veiner.


This is my test for the koi fish mold.
I first made one out of poured sugar, but thought it lacked the "weight" necessary on the top of a cake, so I went with fondant.
I took 2 colors of fondant (green and yellow) and braided them together, never fully incorporating the two colors.
Then I pressed the "tie-dyed" fondant into the mold, going over the flat top with a rolling pin to achieve definitive markings on the fish (scales, gills, etc.)
I popped the mold into the freezer for 20 minutes to ensure a solid fishy :o)
The cake is then covered in a sea blue fondant, and a ribbon made of the same fondant as the fish, details the bottom edge.
As I am always one for flash, I painted the entire cake in pearl luster dust to achieve a shiny, wet look.
Extra bling came from the blue, green and silver dragees for the eyes and decorating the ribbon border.
I (again) used my fantastic 2-piece flower veiner for some isomalt flower details around the koi, to give an underwater feel.

I hope you like this, fun to make!
Leslie S.
Products Used:

Monday, July 19, 2010

It's a Garden Party!


Check out the project that Kim Bierbaum created using the 5-petal blossom veiner.


Attached are pictures of a cake using the five blossom veiner mold. The flowers are 50/50 gumpaste and fondant, but I also tried with chocolate clay, and they came out great too. I cut the fondant with a five petal cutter, put them in the mold and peeled them off. It was that easy - didn't have to put them in the freezer or anything. I let them dry on a flower former and added piped centers, dusted with luster dust. I had a little trouble getting them off the mold with the chocolate clay, so I stuck them in the freezer for a couple of minutes and they came right off. I had a great time with this mold, and made way more flowers than I needed just because it was fun to play with.

Thanks - Kim


Product Used:

Saturday, July 17, 2010

Mirror, Mirror on the Wall

Check out the project that Melissa Capyk completed with our mirror mold.


Hi! My name is Melissa Capyk and I am the owner of Wild Cake in southern Ontario.

For my first project, I chose to work with the absolutely gorgeous Hand Mirror mold!

To remove your piece from this mold requires patience! It is a very large mold, so go slow! I pulled the mold away from the sugar bit by bit all the way around the frame, and released the handle as well (that's the easy part!) The section that is actually the "mirror" is a little trickier, as it is sort of suctioned to the mold. Gently but firmly pull at the mold from different angles... eventually you will get a spot to let go, then you can ease the rest of it off!

I first casted it in white candy melts. First attempt resulted in 3 pieces. I was a little too aggressive trying to get the middle section to release. 2nd attempt worked like a charm though! The detail is really pretty on this mold; I dusted the mirror section with silver luster dust, and then the frame in a pearl ivory color to hi-light the details and make it look like old ivory.


Then, I tried clear isomalt. Brought the isomalt up to 335 degrees F nice and gradually so it stayed clear. I did get a little bit of bubbling from the mold, but that is likely due to the fact that it is brand new, and hasn't had a chance to off-gas (I only had it out of the package a few hours before I started to play!!) I popped the mold into the fridge for a few minutes to make sure it set well (no more than about 10 minutes though, or the sugar will start to get sticky!)


For this version, I also experimented with some silver leaf I had purchased a while ago. VERY touchy stuff! That's a whole other tutorial which is better explained by people who have done it frequently, but I will say you must hold your breath while using this stuff; even a slight puff of air will send it flying! I very slightly dampened the area I wanted the leaf to stick to and applied it, then buffed it with a large soft makeup brush. If you get any stick to any part of the frame; stop and remove it immediately as it will start to stick very quickly. (you can scrape it off though!)


Then I used the ivory dust again on the frame; this time it was a much more subtle effect.


Next I painted the jewels in the frame very quickly with a combination of turquoise dust and confectioner's glaze.


After that, I added some green around the edge of the mirror & on the handle for some additional interest. This was a little too much on the translucent frame, but I suspect would have worked well if I had painted the frame a solid colour.


I also experimented with gumpaste, but I had some issues with it moving in the mold and making a double impression. The issue may have been my gumpaste, so I have made a fresh batch and will experiment with that soon! Because this is such a large mold, there is the opportunity for it to stretch as you roll out the gumpaste into the mold. I believe my gumpaste was a bit too stiff, so I was having to roll it too hard.

Thank you Mel for the chance to play with this mold!

Melissa Capyk
http://www.wildcakes.ca/

Products Used:
Jeweled Hand Mirror

Friday, July 16, 2010

Floating Collar

Check out the project that Glenda Stockwell completed with our braided trim lace mold and a shamrock veiner.


The cake is small 6" square covered in ivory fondant on the cake and board..  The cake is place off-set to give more space on the front two edges to give room for the pressed design on the board as well as the two samrocks on the front corner. 


The lace mold for the braided trim was used with fondant mixed with tylose to create the square piece that is suspended above the cake.  The collar was made a week in advance and allowed to dry hard.  A full week was not needed to dry but I was too scared to get started.  The same mold was also used for the lace piece on the top edge of the cake. 

On the cake board itself the silicone insert was used to press the design onto the fondant covered board.  To avoid stretching the piece I carefully laid it in place then used a fondant smoother to evenly press on the length of the insert.

I also added a simple rope border then painted the design of the lace piece with some gold luster dust mixed with everclear.  Very nerve wracking when painting the suspended collar!

The shamrocks were made using light green colored gumpaste that was then dusted with ECGs green bean colored petal dust. 

Products used:

Friday, July 9, 2010

5 Petal Flower Jewels


Cupcakes are all the rage these days!  Check out the project that Christine Ammel completed with our 5 Petal Flower Jewel mold.

I had some leftover batter for a cake I’m doing this week, so I made mini cupcakes for my younger daughter’s preschool teachers. I put a swirl of white or lavender buttercream on each cupcake and topped them with a variety of flowers, hearts, and butterflies. I thought this presented me with a perfect opportunity to try out the 5 Petal Flower Jewels mold from Decorate The Cake.


I first tried making the flowers with fondant. Each flower is 1.5” across so it requires very little fondant. I’d say about a half to three-quarters inch ball. Just press it into the mold and play with it a bit to get it inside the lines. The flower released beautifully from the mold! I dusted the flowers with luster dust after taking them out of the mold, but I also tried dusting the mold before putting in the fondant. Either way creates a nice sparkly flower. I added a small fondant pearl for the center of the flower. But it just wasn’t “gem”-y enough for me.

So I went ahead and tried my hand at poured sugar. I put some clear venuance pearls in a small ramekin and melted them in the microwave (about 30 seconds or so) . Then I stirred in some purple candy color to make a deep purple color. I had to re-melt the “sugar” after that because it had already begun to set up. I then poured the molten sugar into the silicone mold that had been sprayed with cooking spray. The individual molds are small so I didn’t do such a great job of staying inside the lines. Fortunately, the sugar cools fairly quickly and within a minute, it was cool enough to handle and I pushed it better into the mold. I did have some stringy pieces which I think I will be able to handle better as I work with poured sugar more. But for a first time, I thought it turned out pretty well. Again, I added a small pearl of fondant for the center.


The teachers at my daughter’s preschool were so surprised by the delivery this morning. Their appreciation makes the work so worthwhile!

Christine Ammel

My website is http://christyscustomcreations.shutterfly.com
My facebook page is www.facebook.com/christyammel
My twitter page is www.twitter.com/christyammel

Products Used:
5 Petal Flower Jewels

Wednesday, July 7, 2010

A Trio of Crosses by Sandy Swart

The next DTC user group project was created by Sandy Swart a.k.a. Sewsweet2.  Sandy choose various cross molds with varying sugar mediums. 

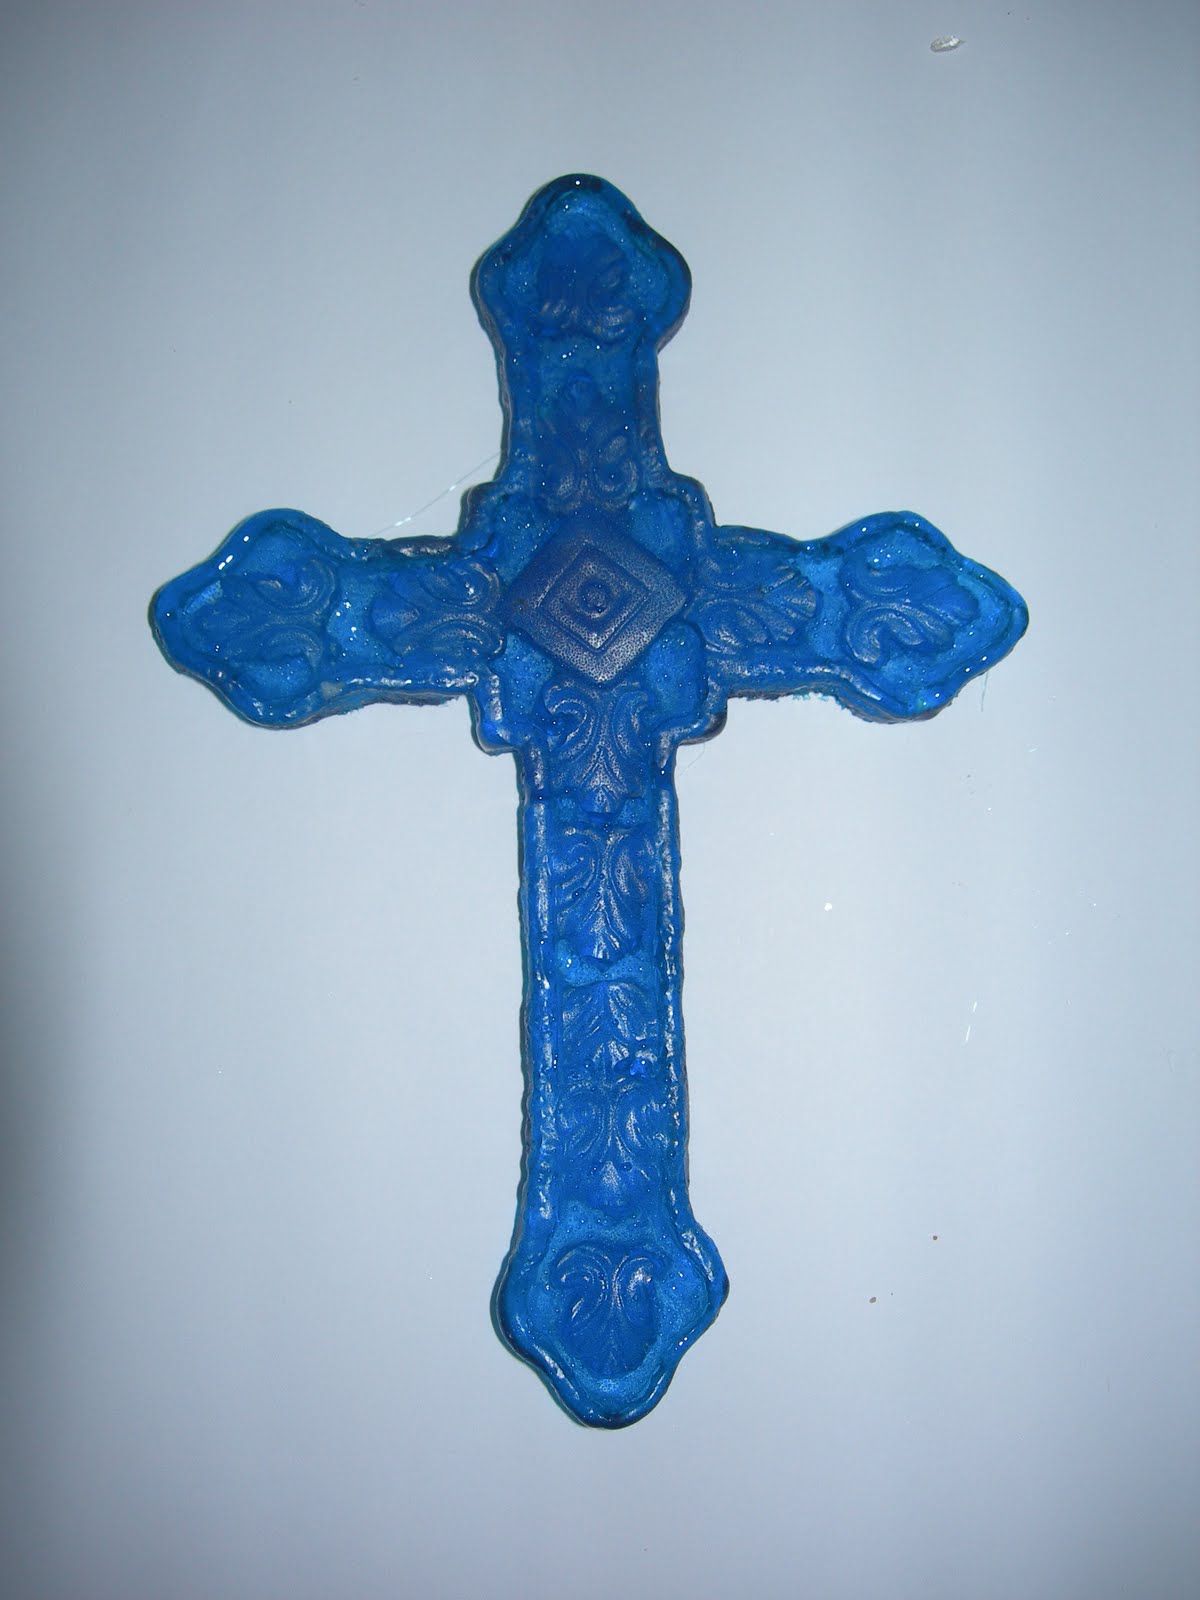
The western star cross is one of my favorites.  I found the original item at Hobby Lobby, where I find quite a few items to turn into molds.  She shows how versitial the mold is by using it as a cake topper as well as supporting decoration. 

As a cake topper, this white chocolate cross is the perfect compliment for the 3-tiered cake. 


The second example of the western star cross is also in white chocolate and used to complement the beautiful airbrushing and piping scroll work.


The second cross example is from the starburst scroll cross mold and was created by swirling pink colored white chocolate into white chocolate.  The first picture is the finished chocolate and the second is dusted with pearl dust.


The final example uses the rough leaf cross mold and is done in layered poured sugar.  I just love this effect and the color choices -- Makes for a very unique and special addition to a cake.


To see more of Sandy's creations be sure to check out her website at http://community.webshots.com/user/sewsweet2.  If you have any questions or comments, please feel free to leave them below. 

Be sure to check back tomorrow for the next DTC Product User Group project update!

Melissa

Products Used:

Wednesday, June 30, 2010

Wedding Dress Corset Cake/TuTu Cake


Oh! this has to be one of my favorites - the Corset Lace.  When I found this lace I fell in love with it and knew it had to be made into a mold -- It has proven to be extremely popular and I love seeing the different projects using it.  I was so excited to add it to the list of test products for the Decorate the Cake Product User group and just love what Lori came up with for her project. 

Wedding Dress Corset Cake/TuTu Cake
by Lori Holbrook, DTC Product Test Group Member


My name is Lori Holbrook but I am also known as the Busy Bee Baker. I am a self-taught cake girl!!! I love to cook and after the birth of my first nephew my cake baking turned into cake decorating. That first cake prompted some of my friends to want cakes. After a move my cake orders had ceased until someone saw a picture on facebook of the last nephew’s 1st birthday cake and my business has taken off. I am also a full time special education teacher but I have a huge passion for cake art!!!! My business name is a celebration of the 3 nephews we call the Killer Bs…..all their names begin with me….so each B in Busy Bee Baker represents one of my nephews!!! You can check out my work on Facebook….search for Busy Bee Baker!!!!


This was a fun creation for me. I had been toying with the idea of a corset cake when I saw the corset mold. I used three different DTC products for this project. The Corset Wedding Cake then morphed itself into a Tutu cake. I had some batter left over from another cake order so I made one 4 in” layer and two 5” layers. I dirty iced all three with the 4” layer between the two 5” layers…to try and have a little bit of a curve so I wouldn’t have to sculpt. My cake was not of the sculpting texture….future cakes would be sculpted.


Once the layers were dirty iced and chilled, I rolled out white fondant and embossed with the feather swirls and draped the layers. Next I made the corset from the mold and attached to the cake to cover the back seam. I applied edible sugar pearls to the front of the cake and then made pleats and attached to the bottom of the cake and added a fondant rope to cover the seams. Then I draped white fondant around the top of cake and spiraling in to cover the top. Once I completed I got the idea to paint the corset with luster dust to show off detail in pictures….that is when I had the vision of a tutu cake…..I added a few fondant roses to the bottom of the corset and snapped some pictures.


Then I went back toke off the roping and rose buds and painted the bodice of the cake and the bottom pleating with pink luster dust. I added the roping back and thought the front needed something more so I added a fondant cut out of the DTC medallion and dusted it with luster dust and attached to the bottom of the cake........then made a pair of fondant ballet shoes to go atop the cake of to the side.


I think the corset added a neat detail that can be used for the front of back of cake.

Along with the corset mold, I used the Fancy Scroll finding mold and the Feather Swirls #2 Texture Mat shown below:


Here is the corset lace press

Here are the progression pictures and final results 


Products Used:


Sunday, June 27, 2010

5 Petal Blossom Cupcakes - Georganne Bell

Our next user group project comes from Georganne Bell and showcases the 5 petal blossom veiner. This veiner is BY FAR, the most popular product that we offer. I hope you enjoy the inforamtion that Georganne has provided and her beautiful cupcakes.

I am so jealous of those talented people who can make amazing sugar flowers. Sadly, I will never be one of them. When sugar flowers are required, I make the bare minimum number that are necessary, take way too much time to make them, and I'm pretty much never happy with how they turn out. I have to say though, I am LOVING the 5 petal blossom veiner. It makes creating simply elegant cupcakes more...well...simple. I have a little confession to make. I made nearly 3 times as many flowers as I needed. Each time I pulled a beautiful flower off the veiner, I told myself that I would make just one more.


While making my rather abundant bundle of flowers, I learned a couple of things. First, after cutting out the fondant with a 5 petal cutter and placing it on the veiner, it helps to push the center down just a little before gently pressing down with the top piece. Second, popping the whole thing in the freezer for 30 seconds really helped me get the flower out with the exact same shape as the veiner. Did I mention that I love this thing? Love it.

Georgann Bell
http://www.lilaloa.weebly.com/

Product used:
5 Petal Blossom Veiner