Showing posts with label poured sugar. Show all posts

Saturday, July 17, 2010

Mirror, Mirror on the Wall

Check out the project that Melissa Capyk completed with our mirror mold.


Hi! My name is Melissa Capyk and I am the owner of Wild Cake in southern Ontario.

For my first project, I chose to work with the absolutely gorgeous Hand Mirror mold!

To remove your piece from this mold requires patience! It is a very large mold, so go slow! I pulled the mold away from the sugar bit by bit all the way around the frame, and released the handle as well (that's the easy part!) The section that is actually the "mirror" is a little trickier, as it is sort of suctioned to the mold. Gently but firmly pull at the mold from different angles... eventually you will get a spot to let go, then you can ease the rest of it off!

I first casted it in white candy melts. First attempt resulted in 3 pieces. I was a little too aggressive trying to get the middle section to release. 2nd attempt worked like a charm though! The detail is really pretty on this mold; I dusted the mirror section with silver luster dust, and then the frame in a pearl ivory color to hi-light the details and make it look like old ivory.


Then, I tried clear isomalt. Brought the isomalt up to 335 degrees F nice and gradually so it stayed clear. I did get a little bit of bubbling from the mold, but that is likely due to the fact that it is brand new, and hasn't had a chance to off-gas (I only had it out of the package a few hours before I started to play!!) I popped the mold into the fridge for a few minutes to make sure it set well (no more than about 10 minutes though, or the sugar will start to get sticky!)


For this version, I also experimented with some silver leaf I had purchased a while ago. VERY touchy stuff! That's a whole other tutorial which is better explained by people who have done it frequently, but I will say you must hold your breath while using this stuff; even a slight puff of air will send it flying! I very slightly dampened the area I wanted the leaf to stick to and applied it, then buffed it with a large soft makeup brush. If you get any stick to any part of the frame; stop and remove it immediately as it will start to stick very quickly. (you can scrape it off though!)


Then I used the ivory dust again on the frame; this time it was a much more subtle effect.


Next I painted the jewels in the frame very quickly with a combination of turquoise dust and confectioner's glaze.


After that, I added some green around the edge of the mirror & on the handle for some additional interest. This was a little too much on the translucent frame, but I suspect would have worked well if I had painted the frame a solid colour.


I also experimented with gumpaste, but I had some issues with it moving in the mold and making a double impression. The issue may have been my gumpaste, so I have made a fresh batch and will experiment with that soon! Because this is such a large mold, there is the opportunity for it to stretch as you roll out the gumpaste into the mold. I believe my gumpaste was a bit too stiff, so I was having to roll it too hard.

Thank you Mel for the chance to play with this mold!

Melissa Capyk
http://www.wildcakes.ca/

Products Used:
Jeweled Hand Mirror

Friday, July 9, 2010

5 Petal Flower Jewels


Cupcakes are all the rage these days!  Check out the project that Christine Ammel completed with our 5 Petal Flower Jewel mold.

I had some leftover batter for a cake I’m doing this week, so I made mini cupcakes for my younger daughter’s preschool teachers. I put a swirl of white or lavender buttercream on each cupcake and topped them with a variety of flowers, hearts, and butterflies. I thought this presented me with a perfect opportunity to try out the 5 Petal Flower Jewels mold from Decorate The Cake.


I first tried making the flowers with fondant. Each flower is 1.5” across so it requires very little fondant. I’d say about a half to three-quarters inch ball. Just press it into the mold and play with it a bit to get it inside the lines. The flower released beautifully from the mold! I dusted the flowers with luster dust after taking them out of the mold, but I also tried dusting the mold before putting in the fondant. Either way creates a nice sparkly flower. I added a small fondant pearl for the center of the flower. But it just wasn’t “gem”-y enough for me.

So I went ahead and tried my hand at poured sugar. I put some clear venuance pearls in a small ramekin and melted them in the microwave (about 30 seconds or so) . Then I stirred in some purple candy color to make a deep purple color. I had to re-melt the “sugar” after that because it had already begun to set up. I then poured the molten sugar into the silicone mold that had been sprayed with cooking spray. The individual molds are small so I didn’t do such a great job of staying inside the lines. Fortunately, the sugar cools fairly quickly and within a minute, it was cool enough to handle and I pushed it better into the mold. I did have some stringy pieces which I think I will be able to handle better as I work with poured sugar more. But for a first time, I thought it turned out pretty well. Again, I added a small pearl of fondant for the center.


The teachers at my daughter’s preschool were so surprised by the delivery this morning. Their appreciation makes the work so worthwhile!

Christine Ammel

My website is http://christyscustomcreations.shutterfly.com
My facebook page is www.facebook.com/christyammel
My twitter page is www.twitter.com/christyammel

Products Used:
5 Petal Flower Jewels

Wednesday, July 7, 2010

A Trio of Crosses by Sandy Swart

The next DTC user group project was created by Sandy Swart a.k.a. Sewsweet2.  Sandy choose various cross molds with varying sugar mediums. 

The western star cross is one of my favorites.  I found the original item at Hobby Lobby, where I find quite a few items to turn into molds.  She shows how versitial the mold is by using it as a cake topper as well as supporting decoration. 

As a cake topper, this white chocolate cross is the perfect compliment for the 3-tiered cake. 


The second example of the western star cross is also in white chocolate and used to complement the beautiful airbrushing and piping scroll work.


The second cross example is from the starburst scroll cross mold and was created by swirling pink colored white chocolate into white chocolate.  The first picture is the finished chocolate and the second is dusted with pearl dust.


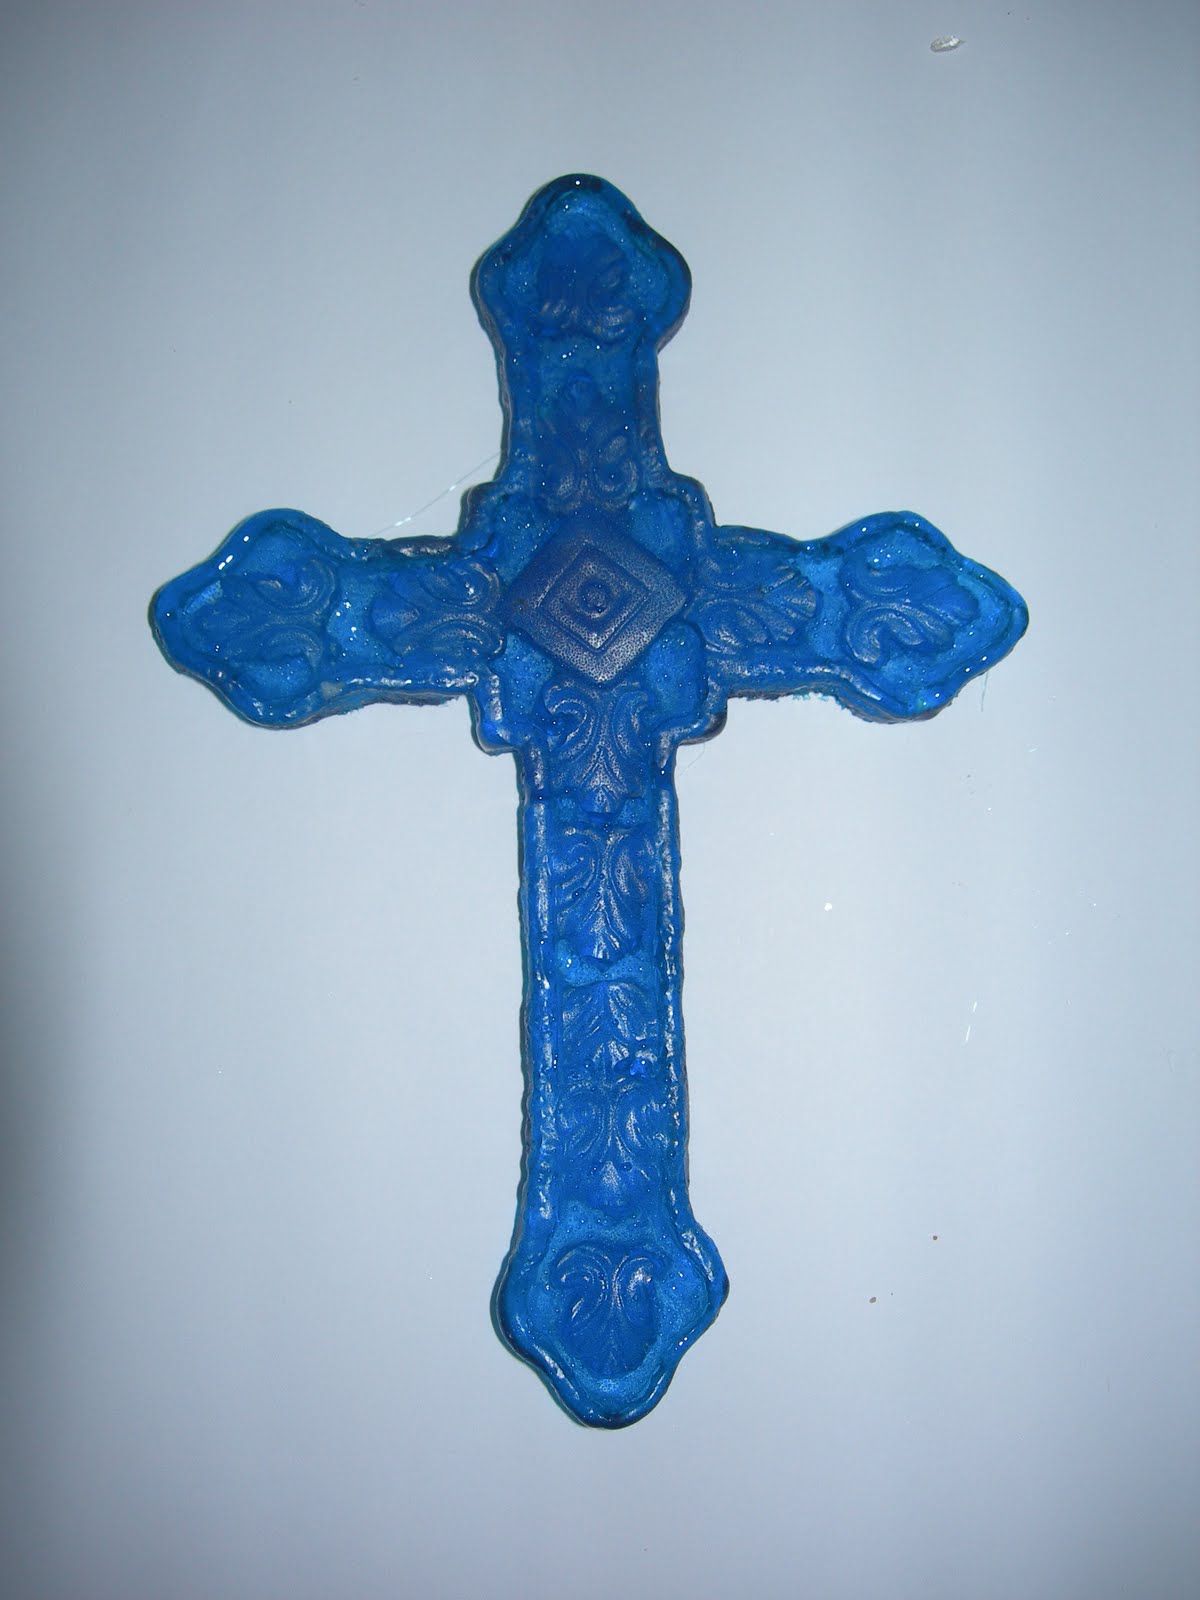
The final example uses the rough leaf cross mold and is done in layered poured sugar.  I just love this effect and the color choices -- Makes for a very unique and special addition to a cake.


To see more of Sandy's creations be sure to check out her website at http://community.webshots.com/user/sewsweet2.  If you have any questions or comments, please feel free to leave them below. 

Be sure to check back tomorrow for the next DTC Product User Group project update!

Melissa

Products Used: