Tuesday, November 8, 2011

Let it snow!


The supplies:

- Silicone snowflake mold
- Isomalt stick from Cake Play
- Hot pot for melting isomalt
- Silicone cupcake liner - I use it to melt the isomalt
- Some fun cake sprinkles
- Snowflake quins
- Blow torch - not in pic


First I broke up the isomalt stick and placed it in the silicone cup. Microwave in 15-20 second increments until all melted.


Sprinkle some of the red sugar and snowflake quins into the mold.  Carefully pinch the silicone cup - be gentle and cautious so that you do not spill the hot isomalt on your fingers.  Pour a steady stream into the mold.

Set mold aside for a bit to cool and firm up.


Once set and barely warm to the touch begin to gently pull the silicone away from the isomalt.


On this particular mold I was worried about the centers pulling through the isomalt so I gave it some help.
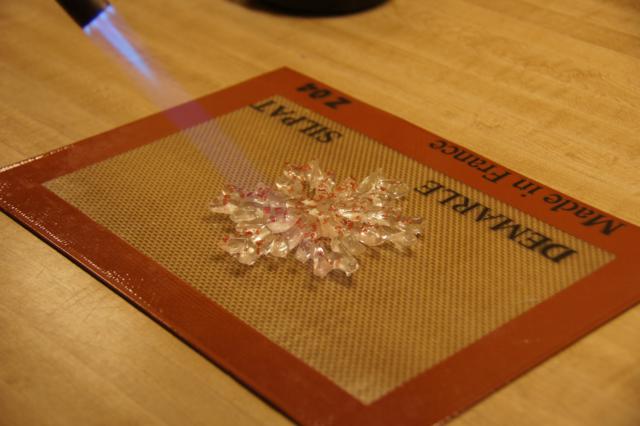


When removed from the mold there were tiny surface imperfections.  To fix this I got out my trusty blow torch and very quickly ran it over the surface.


 Let the snowflake sit and cool for a bit before touching.

One way to display the snowflake - loop a string through and let it hang.  Doesn't it sparkle?


You can use the melting pot - with a broken isomalt stick melted to dip the bottom of the snowflake....


Set the snowflake where you want it and hold still while it cools.

ooohhhh  shiny!


Products used:
Snowflake #2
Snowflake #1

Sunday, November 6, 2011

Placing an Order at Decorate the Cake

My sister Brenda has oh so kindly offered to help write up some directions to answer some questions that I have received on how to place an order with Decorate the Cake.  I hope this helps answer any questions.  


Hi Everyone –

I am Brenda Badwitch, the Good Twin!!!   Yes, I know you are thinking “Yeah right!”  well look below and I will show you proof!

This is Glenda Goodwitch, isn’t she cute!
This is me, Brenda Badwitch, Do you see my fat lip?   Guess who gave that to me?   Need I say more?

Well, so I don’t end up with another one.  I am here to help show you how easy it is to enter your “Coupon Code” provided by DTC to get your fabulous discounts.

Let me walk you through the process:

  1. Go to http://www.decoratethecake.com/ and SHOP!   Get all of those molds that you have had your eye on for months!  Buy them ALL they are on sale!

  1. Once you have located the items you want select “Add to Cart”, enter a quantity and click on the "Add to cart" icon found on each inventory page.


  1. After clicking the "Add to cart" icon you will be taken to the shopping cart page.  From this page you may update quantities (if you missed it on the first page, or just changed your mind).  Select continue shopping or proceed to check out.

  1. Once you have found all of your new toys, Click on the "Proceed to Check out".


  1. You will be taken to login screen.  Once you enter you User Name and Password Select the “Submit” button.

  1. The “Delivery Information” Screen will appear.  Verify the “Customer Information” and the “Alternate Ship to:” information are correct.


  1. Optionally let DTC know how you heard about them!  (You should let her know I am the best!)


  1. Then there is a box asking for "Enter Coupon code if you have one:"  Enter your coupon code -- must be exact!  All those UPPER / Lower Case letters and Numbers!


Please take note of the code I was given - it is a very special code just for Brenda Badwitch… see even she knows that I am the Good One!

Make sure you enter the code that is specific for you or the current sale!

Just below where entering the coupon code please make note of the "fine print" on the order.

Just a quick on the time frames giving in the fine print -- yes, it may under rare circumstances take 7-10 days for an item to ship.  Most orders leave within 48 hours.  If you need to make sure yours is done quickly please communicate with DTC staff to make sure the requested time frame works within our current workload.


  1. Click on the "Continue with Checkout" button


  1. Shipping method screen comes up. (Select the Option that describes you!)


  1. If your order was over the “Free Shipping” level your screen will look like above.  Else you will be asked to select your Shipping Option.   Select the one that is best for you!
    • Canada / Mexico
    • United States
    • Other Countries
Note:  That the discount is also displayed above!

  1. Press the "Continue" button

  1. Your Order Summary Screen will be displayed.   This one will also show the discounts that have been applied! 


  1. Once you have reviewed, press the "Checkout!" button -- this will take you to PayPal to make your payment

  1. You will then be directed to the “Choose a way to pay” screen.  You can select PayPal at the top of the screen or you can pay directly with a credit card and by-pass setting up a PayPal account.


Hope this helps and that you all have a wonderful time shopping!

Brenda Badwitch
“The Good One”


Wednesday, October 19, 2011

Isomalt Orchids


The tools I used for the isomalt orchid were the orchid mold, powdered color (I used black magic from ECG), clear isomalt stick from Cake Play, silicone cupcake liner from Wilton.
Put the isomalt stick into the silicone cup.  Microwave in 15-20 second increments until all melted.

Once melted be very careful and pinch the silicone cup - be gentle and cautious so that you do not spill the hot isomalt on your fingers.  Pour a stream into the mold cavity until about 90% full.


Next sprinkle a little of the color onto the rest of the isomalt.  You may stir slightly if you want to get it mixed in a little more.


Pour the color over the back of the isomalt.  If you want the colors to meld more make sure the clear is still warm.


Once the isomalt sets and is barely warm to the touch, lift the mold and gently pull the silicone away from the isomalt.


Pull the isomalt out of the mold.


Below are two differnt orchids made with the same mold.  The left orchid had less color used on the second layer and was left flat when pulled from the mold.  The right orchid was gently shaped when removed to cup the petals.


Mold used:
Orchid Carved

Friday, September 2, 2011

New Applique Lace Molds

The next project is a wonderfully detailed tutorial by Sherrie Ortiz showing some of the new lace molds -- Thank you SO MUCH Sherrie for this project!  

I started out with this 4 tier cake blank because I was redoing my dummies.


These are the molds I was using. There are 3 shown but I just used the two with the same pattern in the end.


First step is the design process. Deciding what goes where. The flexible molds are nice for this because you can fold them to into the areas to see just how it would look. As you can see I was undecided. It’s all part of the process.


HOW to use the molds: 


I really liked these molds. They are very easy to use. Gum paste or fondant is fine depending on what you want to do with them. I think they would make pretty cupcake toppers too. I first marked them with a sharpie to show where the patterns match up. 


This makes the process much easier.

Next roll out the fondant fairly thin but not so much you can see through it. Too thin and the lace will tear when you pick it up. #1 on a Kitchen aid roller if you have one. 


Place the fondant on top of the lace base (the bigger part) and then press with your hand enough to see some of the impression.


Now add the TOP of the mold matching the marker spots and press firmly till you see the edges of the fondant “break away”


Pull the fondant all the way off and take the TOP of the mold off. Use your finger to push any excess or rough edges into the mold. If you have a tear you could try to patch it at this time if you want.


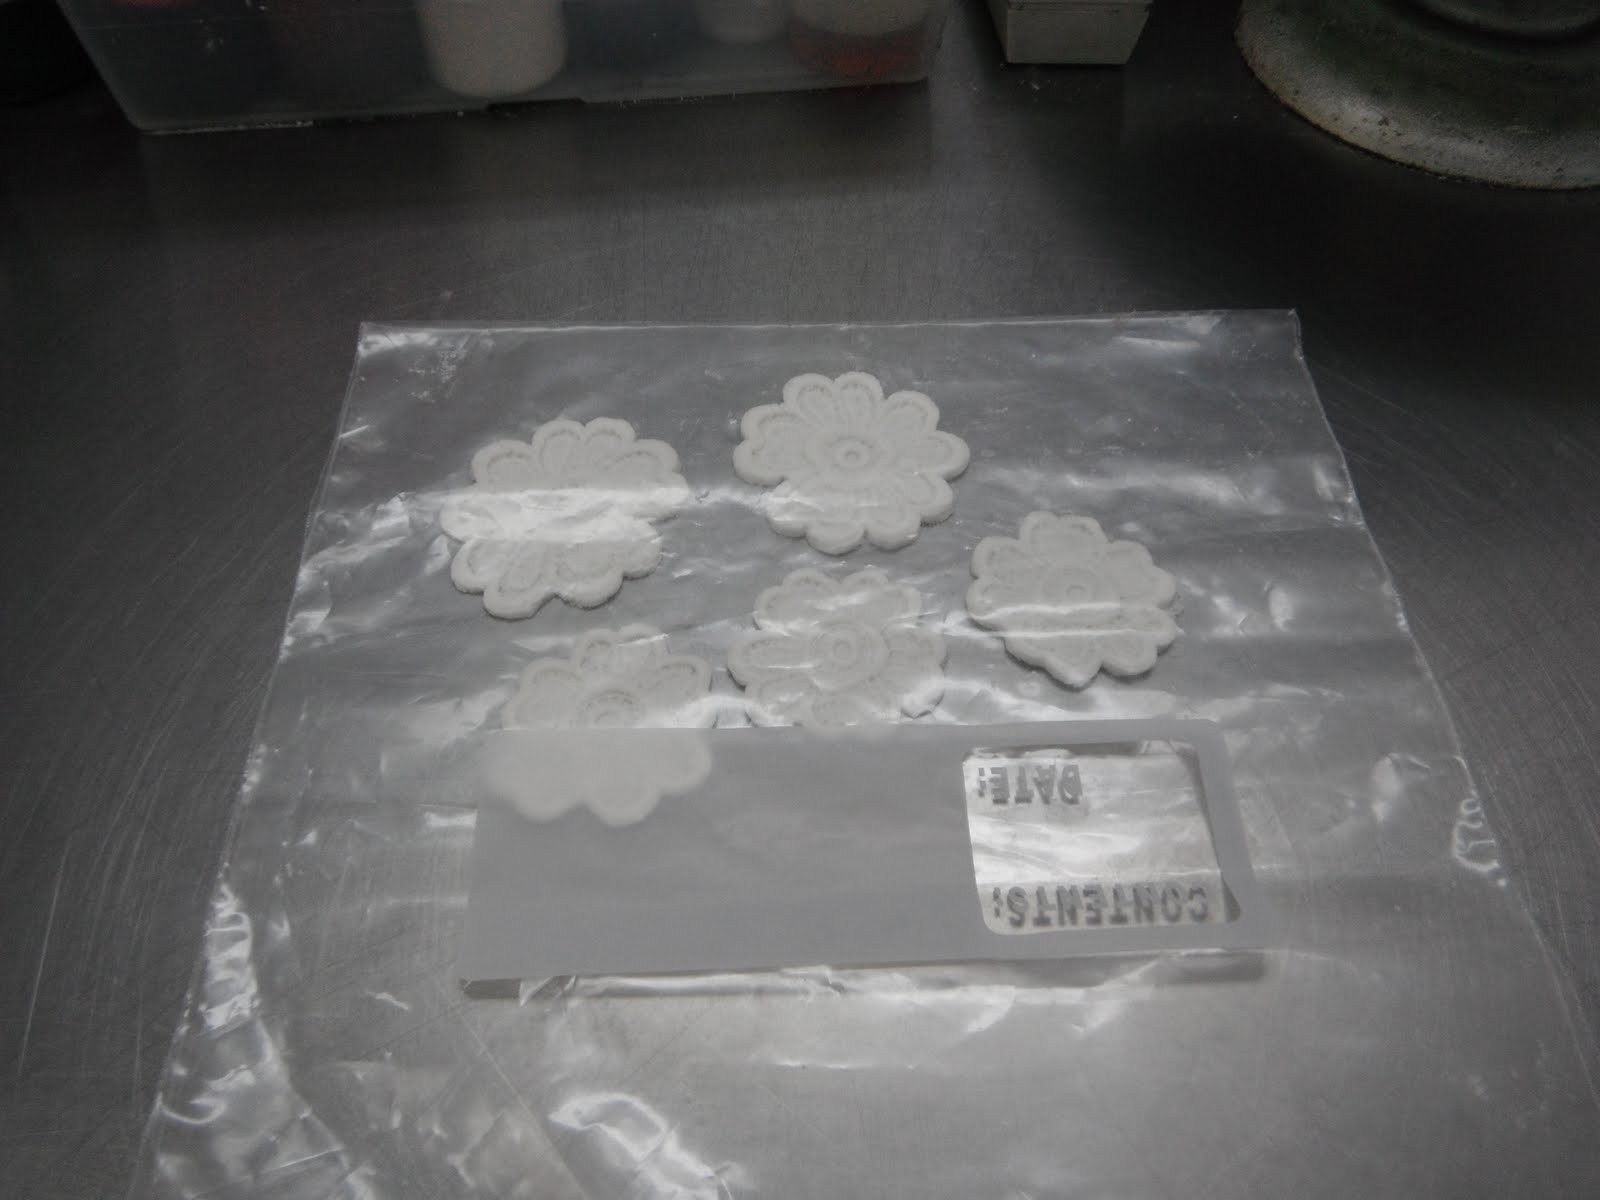
 If you need a lot of these you can store them under a plastic flap so you can stream line your work. If they need to sit for a longer amount of time I will lay a damp towel OVER the PLASTIC to help hold in moisture.  I actually cut out all these parts and had dinner before I came back to finish the cake. I have done this as much as 24 hours ahead of time. Still just as fresh.


So I was mixing up different ideas for placement and nothing was working for me. I was thinking about piping something below the lace or add accents of something but I was not really in the right frame of mind. So I scratched that idea and went a totally different direction with swags. Here is a tip if you have a hard time visualizing where a  swag should go. I use red floss and pins to hang the string so I can see better.


 Bad idea. Just not right.
So getting to the point. I used a simple texture pin on the fondant that was rolled out to a 1 on the kitchen aid (not too thin) then I used the lace parts to accent the corners as shown.


I did use little balls of fondant to bump up the molds if the placement seemed too flat.


I finished it off with ribbon that had the same impression on it as the drapes and fondant pearls.


TaDAAAA!!!!!! Thanks for watching. Hope you enjoyed the show.

~~~~~~~~~~~~~~~~~~~~~~~~~~~~~~~~~~~~~~~~~~~~~~~~~

To see more work by Sherrie check out her website:  Sherrie's Cake Magic

Lace Molds Used: