Monday, July 22, 2013

Merry Christmas....in July!

A big Thank You to Rebecca and Roslynne for helping out with this blog post.  Definitely a group effort!


To make the jingle bells we use used our mini jingle bell mold, some little balls of fondant, an edible food marker (not shown) and silver luster dust of choice.  


We formed the fondant into almost tic-tac shapes which easily slipped into the mold cavity.

Firmly press the fondant into the cavity.


Use a palette knife to clean up the excess fondant.

At this point place the mold into the freezer for about 10 minutes -- or longer if you are forgetful like I am!


Flex the mold and pop out the jingle bells.

Finished jingle bells. 
 We used a black food marker to mark the lines then brushed the jingle bell with the silver luster dust.


On the left is the fondant bell, middle with just the black line drawn and right dusted with silver.

Close up of the finished jingle bells.

Close up of a snowflake we added.  This was lightly dusted with a silver pearl dust. 

DTC Products Used:
Small Jingle Bell
Small Snowflake

Optionally Larger Jingle Bell
Large Jingle Bell

Friday, July 12, 2013

I've Been Framed!

Need a way to sparkle up a frame?  Check out the new shimmer isomalt options from Cake Play!


First we gathered our supplies -- we used the new
* pearl isomalt
* bronze isomalt
* silicone cups
* Pearl Frame mold


Melt your isomalt in the microwave in 30 second intervals until melted.  Some microwaves will take longer and other less time - so watch it carefully so you don't burn it.

Love the way the shimmers look when melted.

Very carefully pinch the sides of the silicone cup to create a pour spout.  Then pour a small dollop into each of the pearl cavities.  Don't worry if you get a little drop outside of the pearl - once slightly set you can use a toothpick to snatch that out.


Here I am getting some stray bits of isomalt out of the cavity with a toothpick.
Wait until the pearl color has set slightly so they don't blend.  Pour the bronze evenly over the back of the pearl.

Yes! That is my Icing Smiles shirt I'm wearing!

All pretty and swirly!

Allow the isomalt to fully cool.  Then gently turn the mold over and release the frame.


Ours came right out!  If it needs some coaxing make sure the isomalt is cool.  If it is cool then you can use a toothpick to encourage it to release.

Love the sparkle!

DTC Products Used:
Pearl Frame mold

Get your own Icing Smiles Shirt!

Tuesday, May 21, 2013

Whooo is using isomalt?

Quick shot we took playing with some isomalt in one of the new owl molds.

We use yellow and red CakePlay isomalt.  Melted in a few seconds in the microwave and poured directly in the mold.  We weren't terribly careful on pouring so it slid around in the cavity but you get the idea!


After unmolding......


Product Used:
Owl - Large Jeweled


Tuesday, March 26, 2013

Bling Bases are Affordable!

Sandy Swart does a beautiful job showing us a quick, easy and affordable way to make your bling bases!

Silver and Gold plateaus are beautiful and work great for that finishing touch for wedding cake presentations. 

Many of us do not have the funds or the storage space to purchase and store beautiful metal bases for our brides.

Here is one way to make a bling base to show off a wedding cake.  These are just general guidelines since you can make your base any size you want to.

Materials needed:

* Cake dummy with straight sides- can be purchased or I make my dummies out of 2" polystyrene house insulation that can be purchased in 4'x8' sheets at home improvement store.  I cut rounds, squares, ovals, or whatever shape need with a jigsaw and cover with contact paper.
* Florist foil
* Scissors
* Ruler or measuring tape
* Regular straight pins used for sewing
* Clear corsage pins (because they are fairly inconspicuous when pinning bling ribbon
* Bling ribbon available from Decorate the Cake


1.  Cover the top of the dummy with foil.  I rough cut the foil to cover the top by cutting the circle a little larger than the dummy layer so I can fold it over the edges and attach it every 3"-5" to hold it in place.  I want a temporary cover so I can use the same dummy and change the foil/bling ribbon cover and also easy to replace if top foil gets damaged at the reception when the cake is served.  You could tape it , but I used plain straight pins (what can I say-- I'm also a seamstress!)

2. Cover the sides of the dummy.  I measured then cut a strip of foil a couple of inches wider than the depth of the dummy.  Then I folded each edge under 1" to make finished look to the edging.  I secured this to the dummy with straight pins with the strips overlapping. .  In this picture you can see I did part with florist foil and part with regular aluminum foil to see if there was any difference in the look with the bling ribbon over it.


3. Measure circumference of dummy and cut bling ribbon that length plus 1".  Measure the height of the dummy and cut the bling to that width.  My dummy was 4" deep so I cut my bling so that it was 4" wide.  Place the bling ribbon around the dummy and over lap the ribbon in the back and secure with at least 3 crystal headed corsage pins in the back for a 4" ribbon.  Since it is a foam dummy it is easy to pin the ribbon in place.  It is secure and not that noticeable.


4a. After it was covered with the bling ribbon, I couldn't tell any noticeable difference between the foil and the aluminum foil behind the ribbon on the sides. 


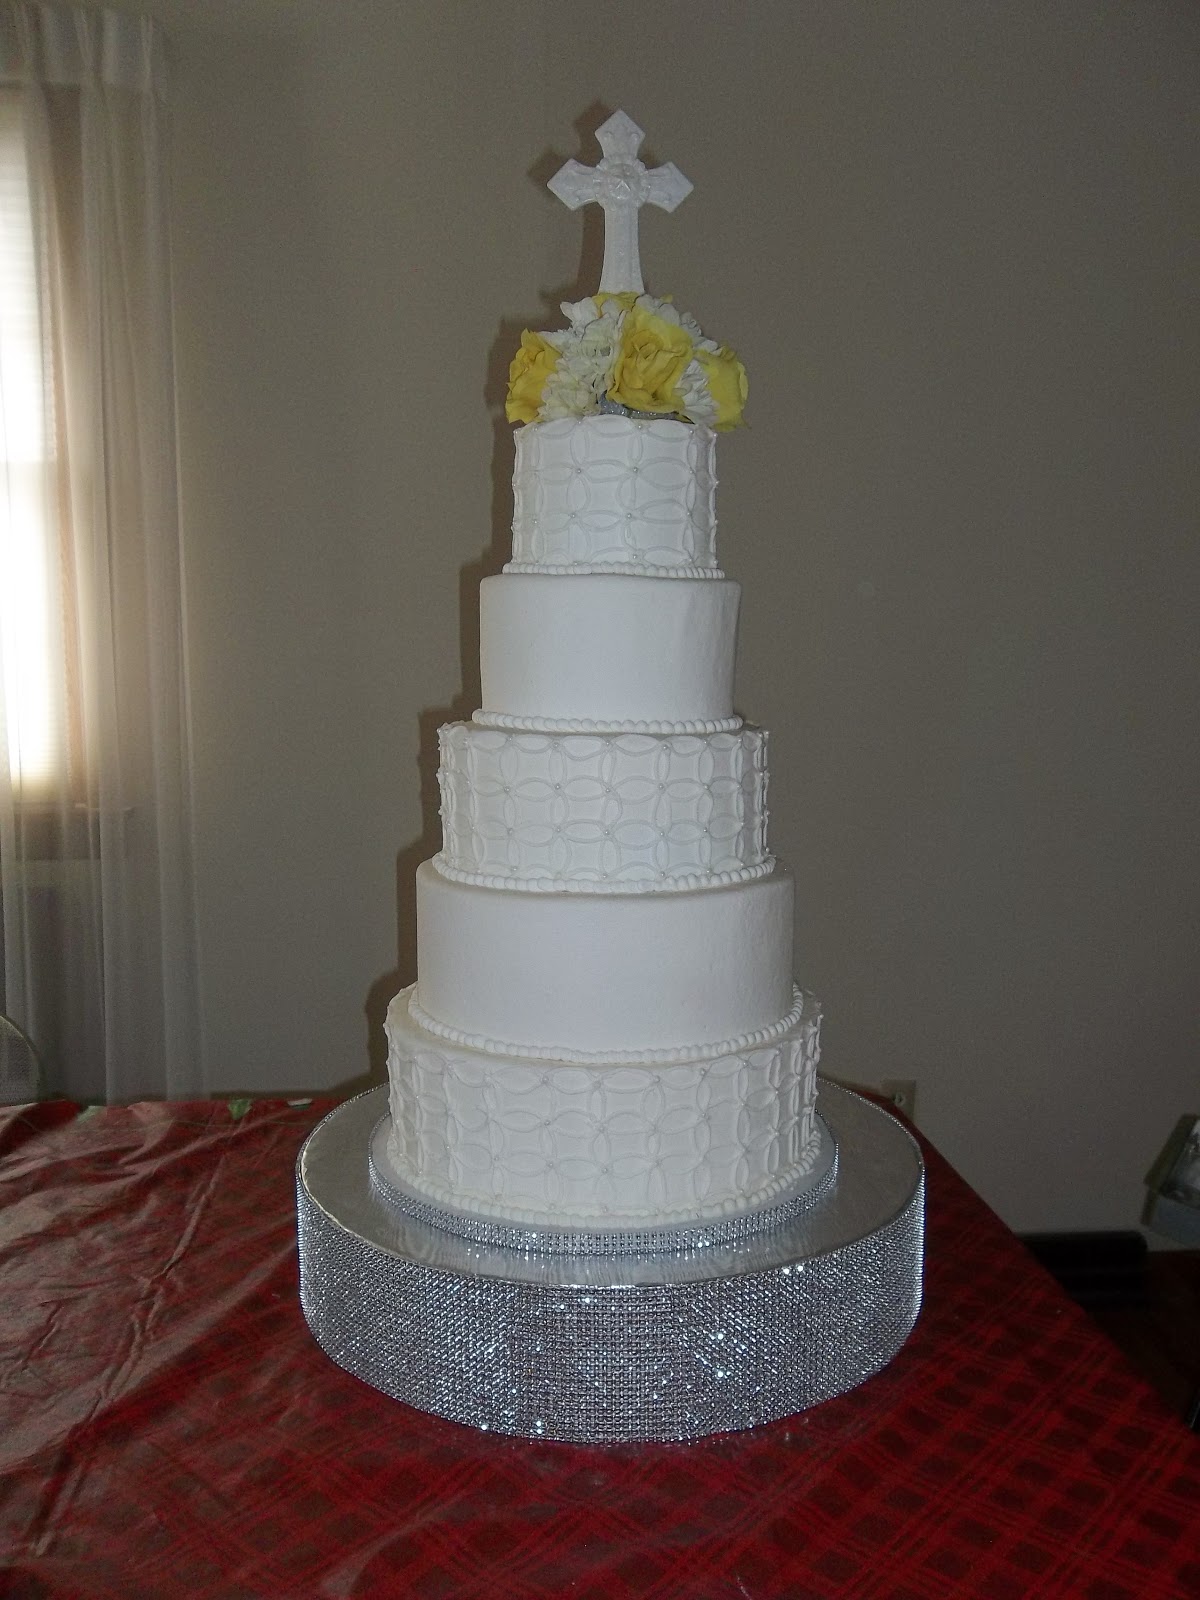
4b. Finished bling base with cake.  You can also bling the cake board.  Here 1/2" wide strip of bling ribbons was wrapped around the edge of the cake board.


NOTE: An alternative to a round cake dummy might be a stack of cake pad circles.

Any questions?  You can contact me through Sandy Swart Cakes on Facebook or at sewsweet2@hotmail.com
Albums of my decorated cakes can be seen at:  http://flickr.com/photos/sewsweet2/sets

Products Used:
Silver Bling Ribbon

Other colors available:
Apple Green Bling Ribbon
Gold Bling Ribbon
Pink Bling Ribbon
Purple Bling Ribbon
Red Bling Ribbon
Silver/Black Bling Ribbon
Turquoise Bling Ribbon


Saturday, February 16, 2013

Dinorawr!


How many dinosaurs do you see on this cake? You might have to look close to see all three in their natural habitat of fondant grass, leaves and polka dots!


I used fondant with tylose powder for the these dinos. I filled the molds to the top and cleaned the edges of the mold by removing any excess.  Place the mold in the freezer for about five minutes and they  will pop out very easily. I brushed with  pearl dust to bring out the detail on the tiny ones.

The cookies were a nice size for the favor boxes which I picked up at Michael's. Cookie tiles seem to be a popular trend. These little dinos are the perfect size for them. This is about a 1 inch square cutter.
The cookies are decorated with royal icing. Party City carries sixlets in EVERY color.


Volcano cake pops were actually easier to dip than round ones. I worried they would fall off the stick but I did not have any trouble with that. I dipped the stick in chocolate and pushed it halfway into the pop and covered completely. The advantage of plastic sticks is that they can be wiped off if  any chocolate should drip onto them.


I put a small handful of orange melting chocolate wafers into a disposable pastry bag with a pinch of paramount crystals and melted on half power until melted. Be sure to take the bag out and squeeze the bag to distribute the heat evenly during melting.  Cut a small hole off the the tip of the bag and pipe some orange lava on the pop.

Repeat with yellow chocolate.

Use the pastry bag of melted chocolate to attach the molded dinos!

Did you know you can  use the deeper molds for making cookies?
Fill the mold and freeze for about 3 minutes and place on a parchment lined cookie tray.

Bake at 325 for 10 - 12 minutes. Watch carefully, remove when the cookie looks dry and just before it begins to brown. I used a Wilton Roll-Out Cookie Recipe from an old year book. It is not necessary to add the 2 teaspoons of baking powder because you do not want it to rise so I omitted it.


Roll-Out Cookies
1 cup butter
1 cup sugar
1 large egg
1 teaspoon vanilla
3 cups flour

Preheat oven to 325 degrees. In a large bowl, cream butter and sugar with a hand held mixer. Beat in egg and vanilla. Mix in flour one cup at a time, mixing after each addition. Divide dough into small bowls and add several drops of gel food coloring to each bowl. Knead in the coloring with your hands until evenly distributed.  No need to chill dough before using, but if you are working with several colors, you may want to refrigerate the dough you are not using.


Vendor Credits:  Party Styling and Desserts by Jeannie GearinThepastrytip.com


Products Used:


Tuesday, February 12, 2013

Let the Good Times Roll!


Here is a quick and simple cake to add to your Mardi Gras festivities this week.

First we covered the cake in a green fondant.  Then using our new wavy texture to add the purple details.  I like to roll out the fondant on top of the texture mat.  This helps me to make sure that I'm rolling the fondant even.


Look Mom!  No hands.  I had to operate the camera!  
Next I turned the mat over and slowly pulled it off the fondant.  

Using a small square cutter I cut squares and arranged on the sides of the cake.  Easy!

Dust some sugar pearls with gold luster dust and place at the corners.  I also painted the board with the same gold.

Then I used green, purple and gold bling ribbon and some double sided sticky tape to add some bling to the board.

I will get the details on the mask in another blog.

Products Used:

Thursday, February 7, 2013

Conversation Hearts


Just in time for Valentine's Day you can make some lovely hearts for your sweetie!

I'm going to show the steps for the two toned hearts.  I take two similar size blobs of  sugarpaste (I used fondant - you can do candy clay, gumpaste, etc).


Then I twist them together.  Looks like a colorful slug to me.


And roll into a smooth ball.


Place the smooth ball in the cavity.  Yeah, this one changed back to all pink for the photo - very odd.


Then I use my rolling pin to smooth out and push the sugarpaste into the cavity.


Once finished I pop them in the freezer for just a couple minutes so I don't squish them when I pop them out.


And all finished!

Product Used:
Valentine - Conversaion Hearts